Welcome to the Voltquant AI Colleague documentation site.
Quick Start
Sign-In/Sign-Out
Once your Organisation has been set-up with Voltquant, you can Sign-in to your account using your Microsoft credentials. We use Microsoft as an authenticator for your security and convenience.
Initial Sign-In Using Microsoft Authenticator
Before You Begin — Download Microsoft Authenticator
This setup requires the Microsoft Authenticator app on your mobile phone. Download it before starting if you do not already have it:
| Platform | Download Link | Notes |
|---|---|---|
| Android | play.google.com — Microsoft Authenticator | Search ‘Microsoft Authenticator’ in Google Play |
| iOS (iPhone) | apps.apple.com — Microsoft Authenticator | Search ‘Microsoft Authenticator’ in App Store |
1. Open Voltquant
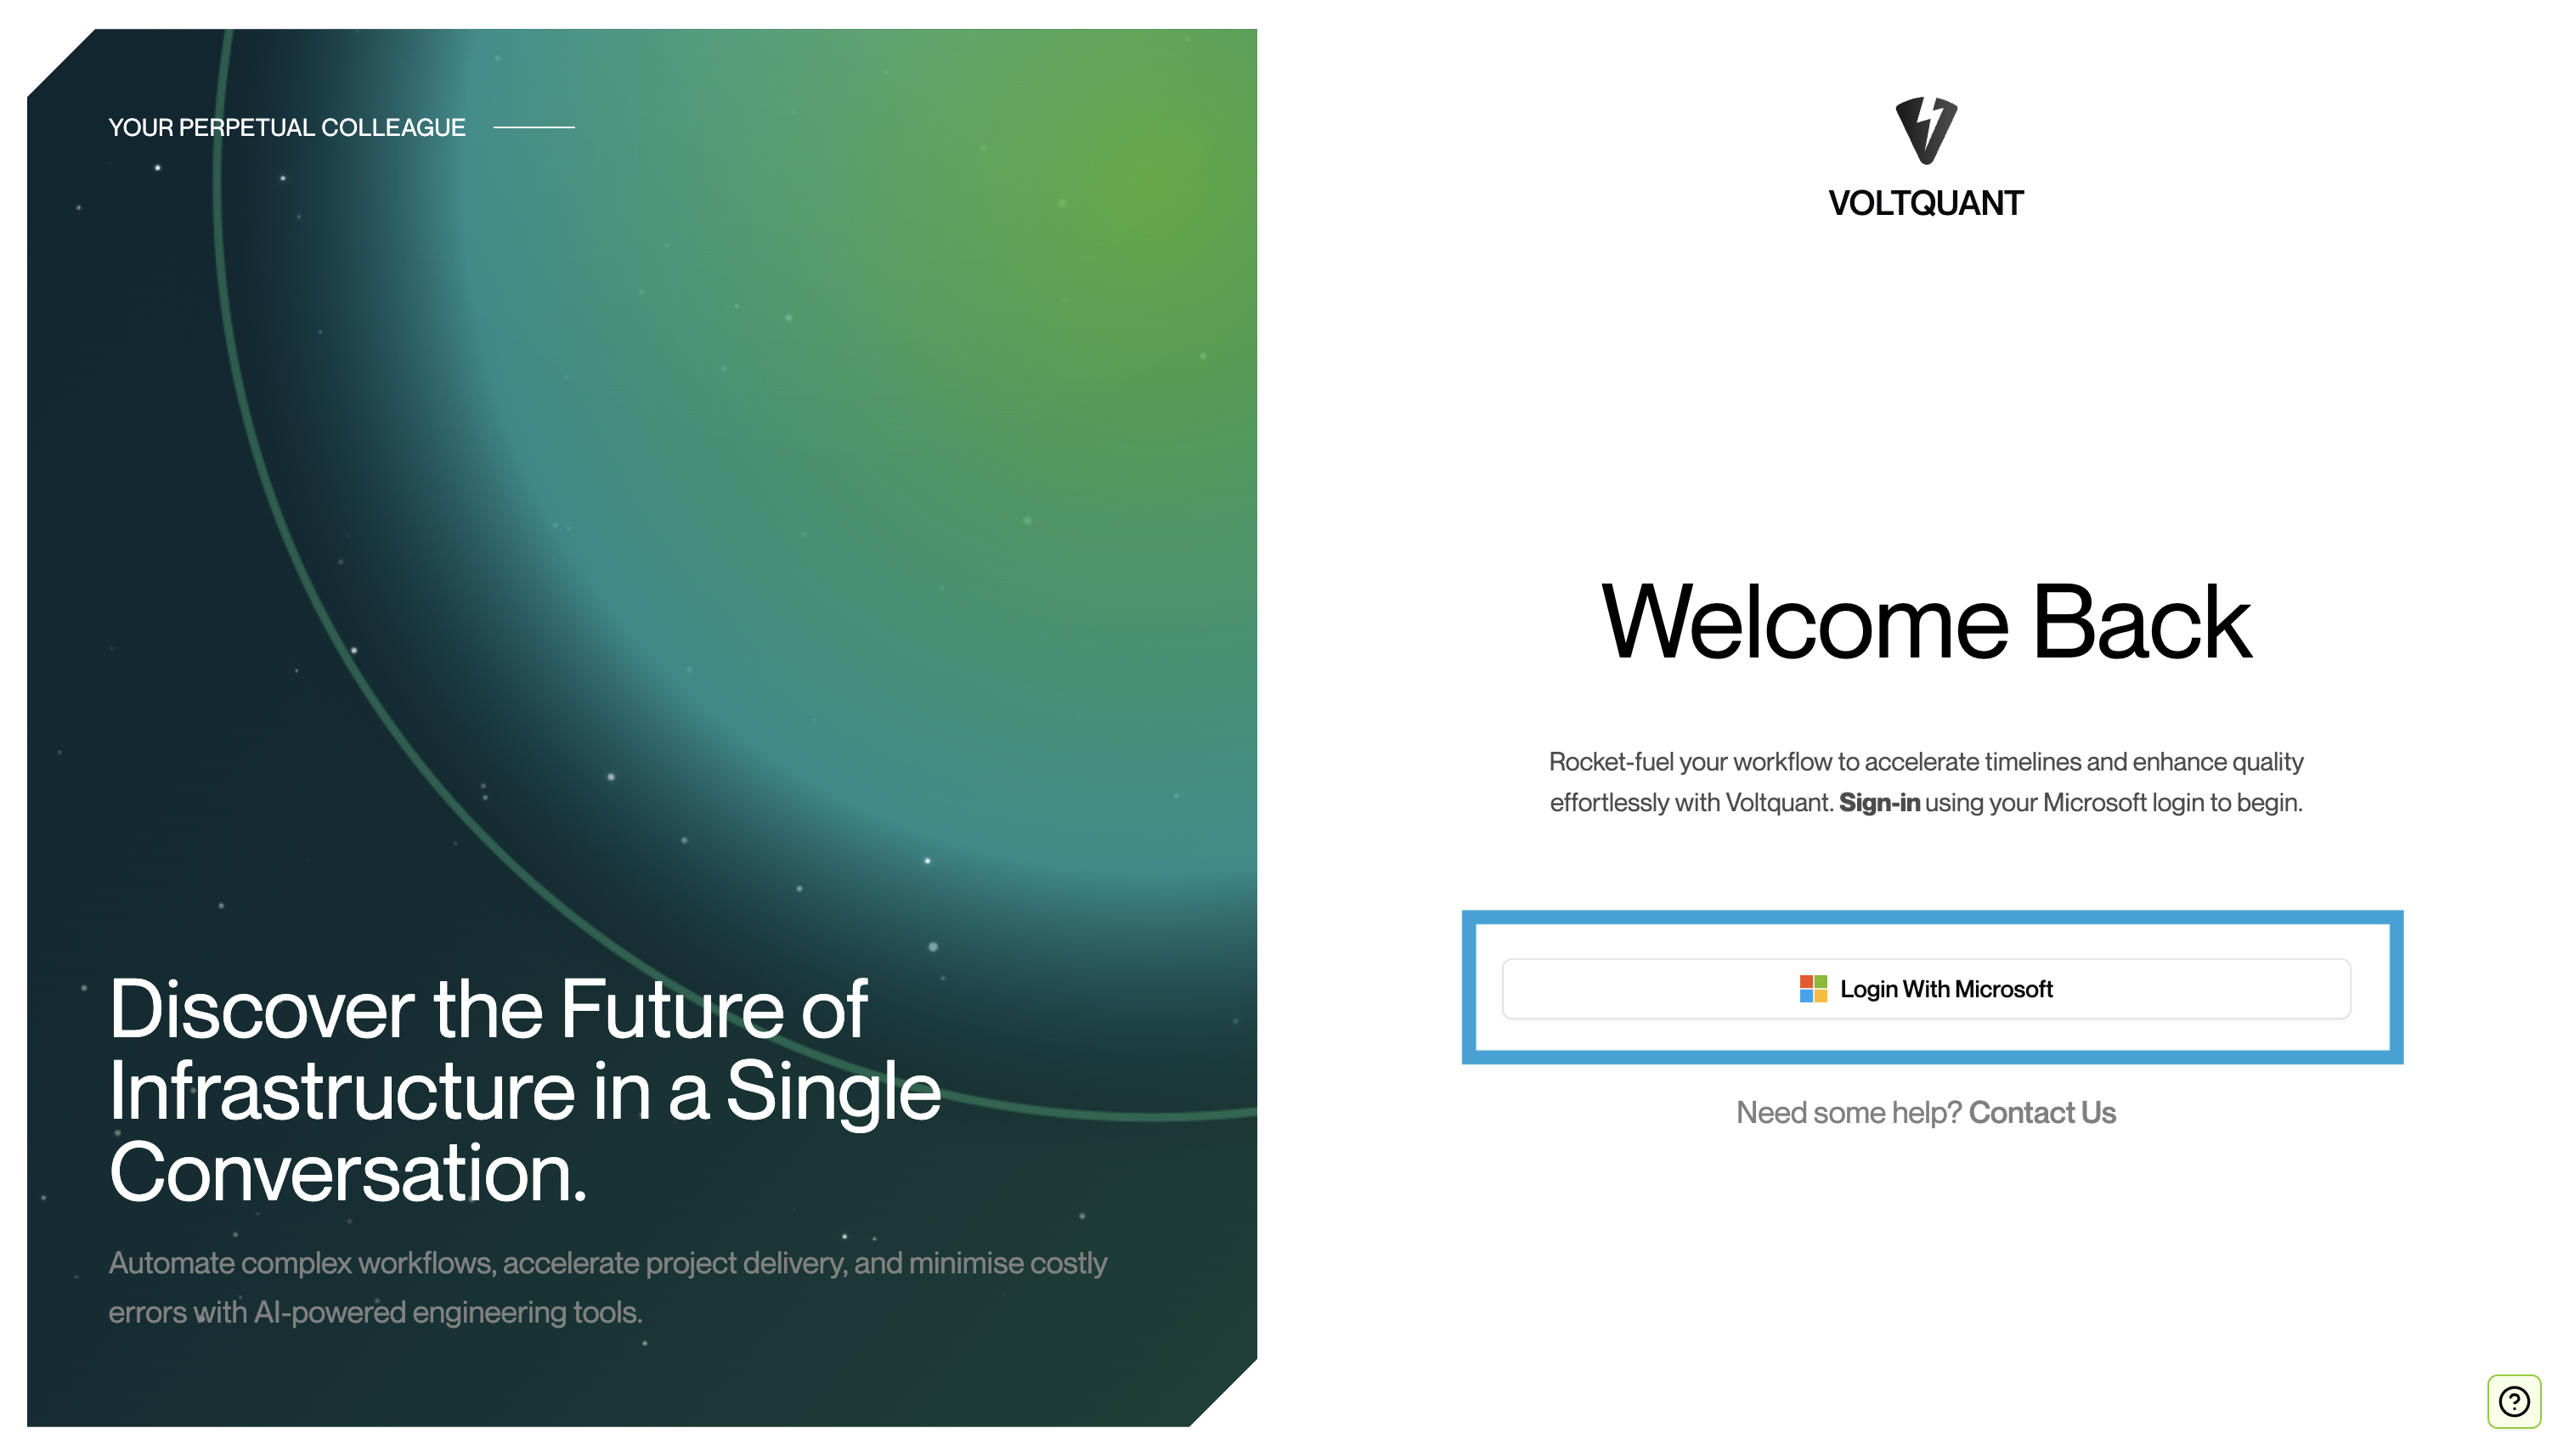
Navigate to our Web App and click the Login With Microsoft button to begin.
https://app.voltquant.com/login

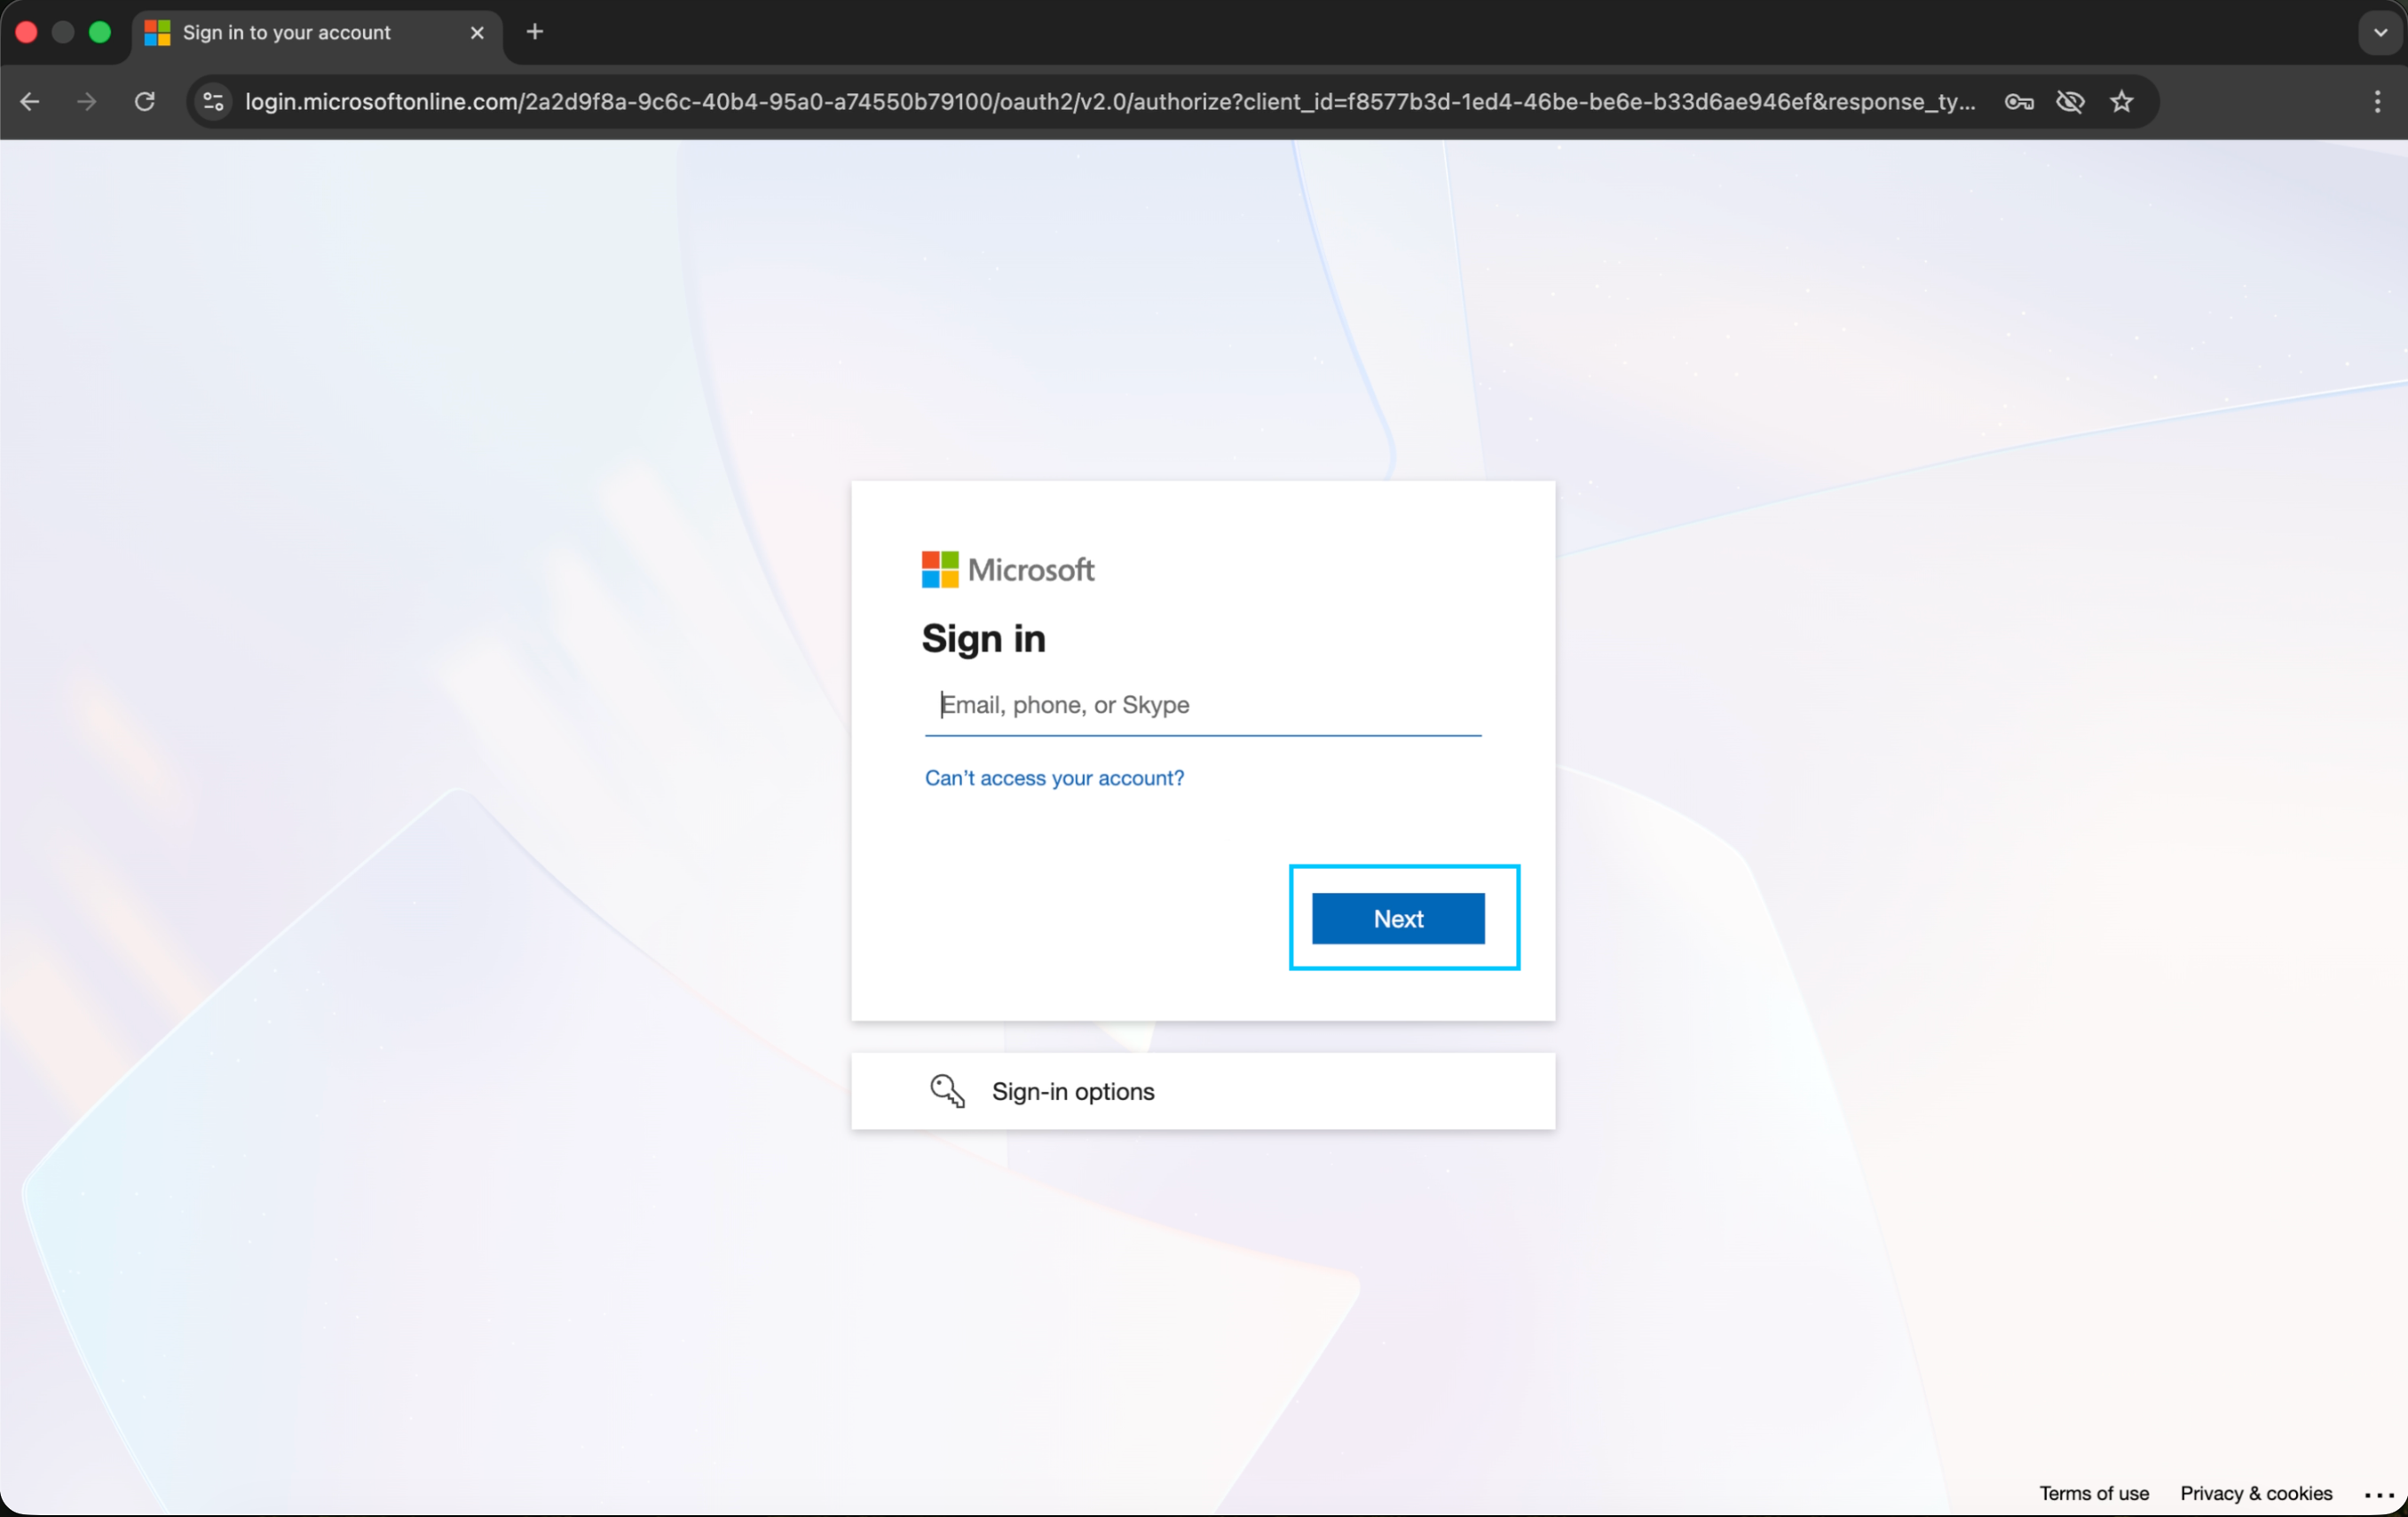
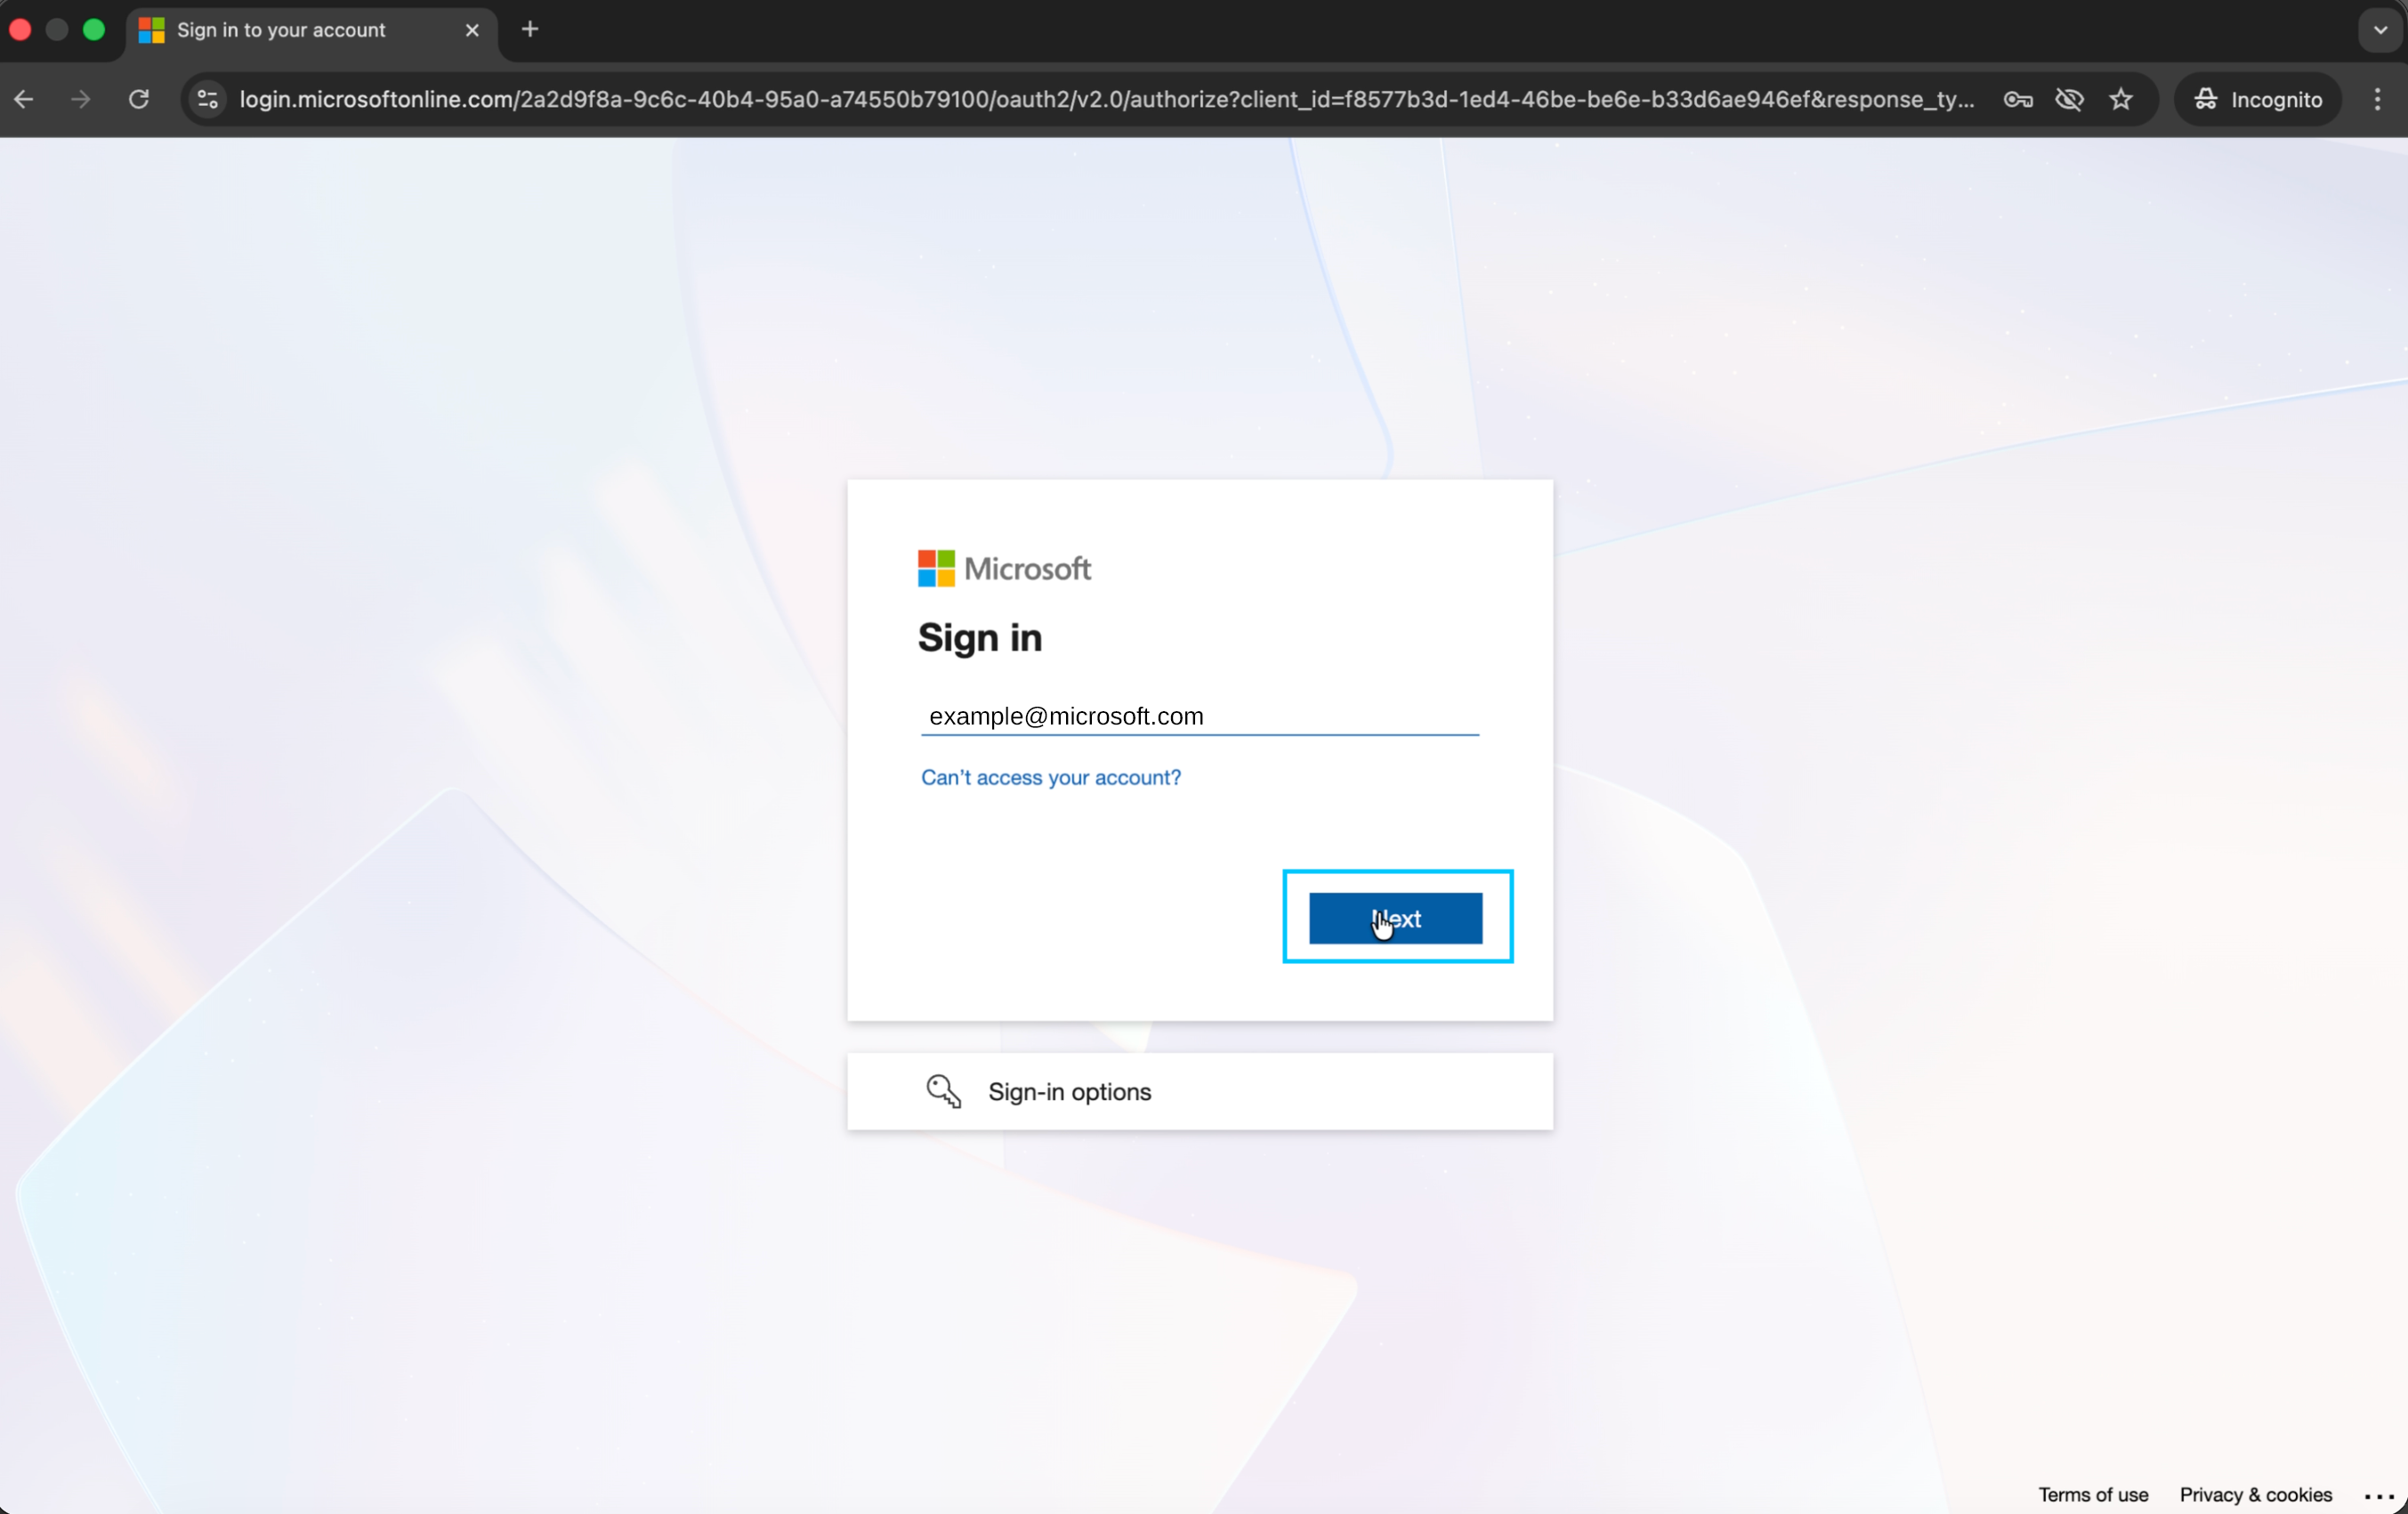
2. Enter Your Email
You will be redirected to the Microsoft sign-in page. Enter your work email address in the Email, phone, or Skype field and click Next.
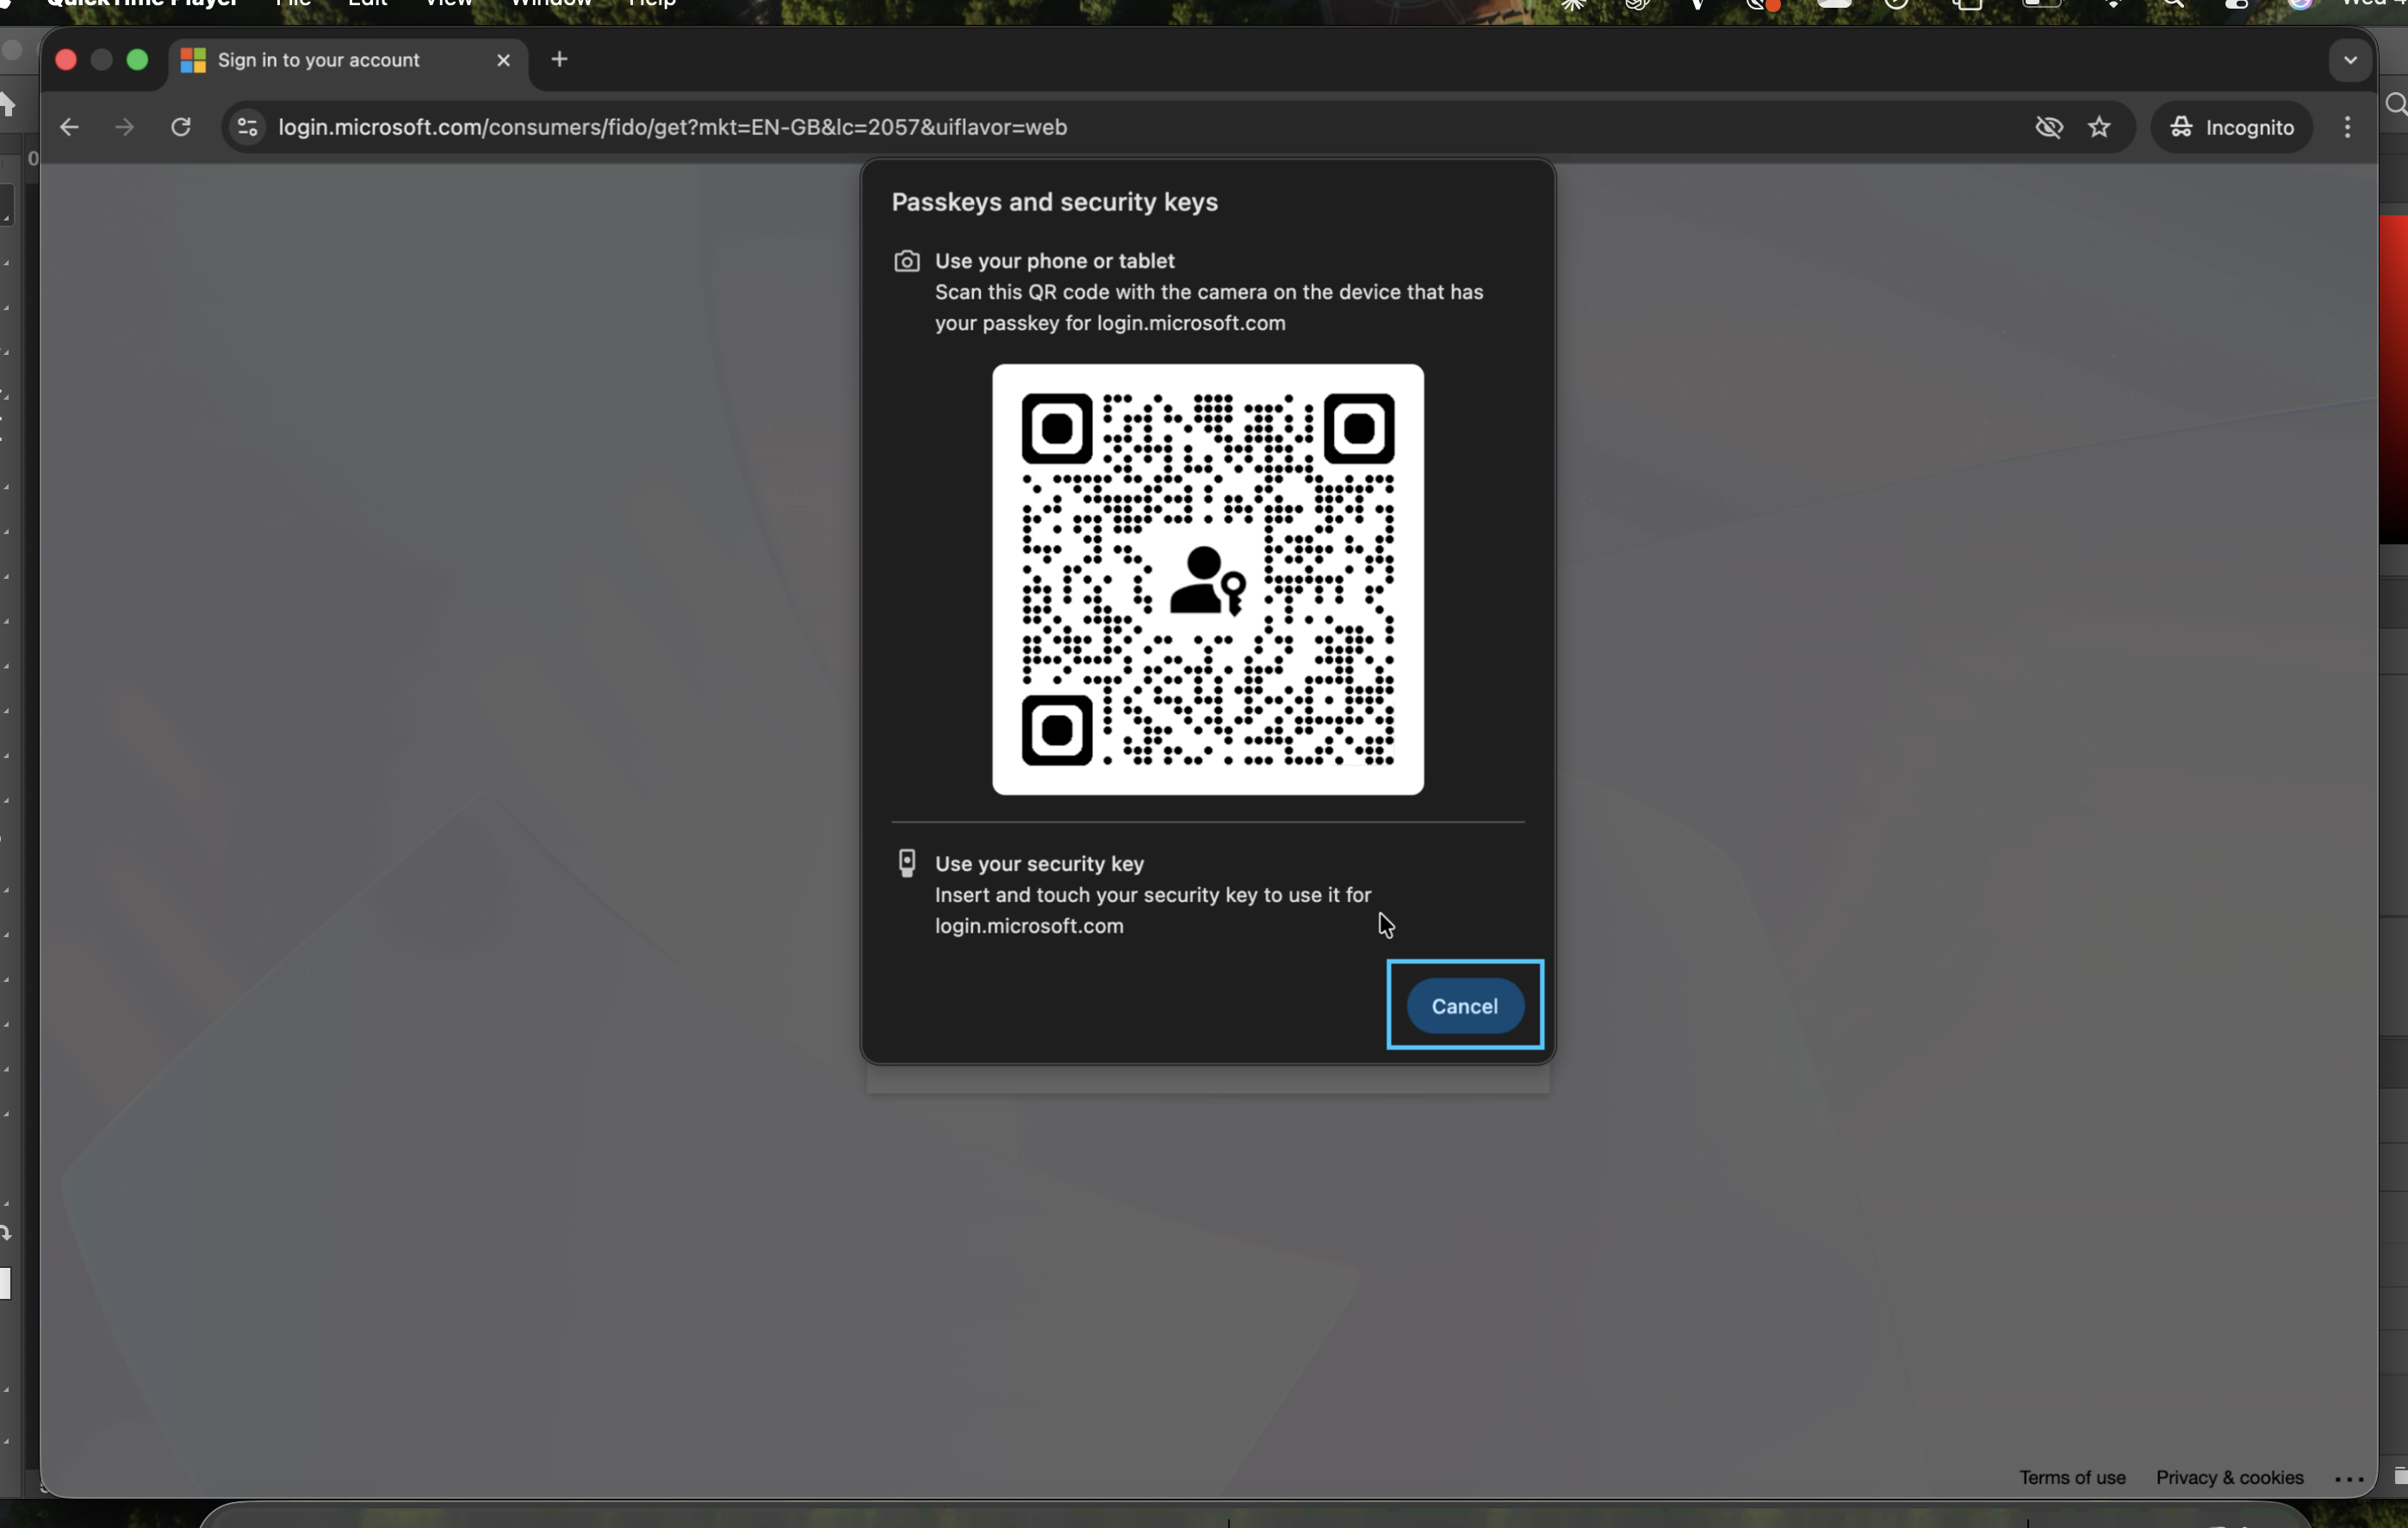
3. Passkeys / Security Key Prompt
Microsoft may prompt you to use a passkey or security key. If you have a passkey saved on your phone, scan the QR code shown. If not, click Cancel and continue with your password or PIN.
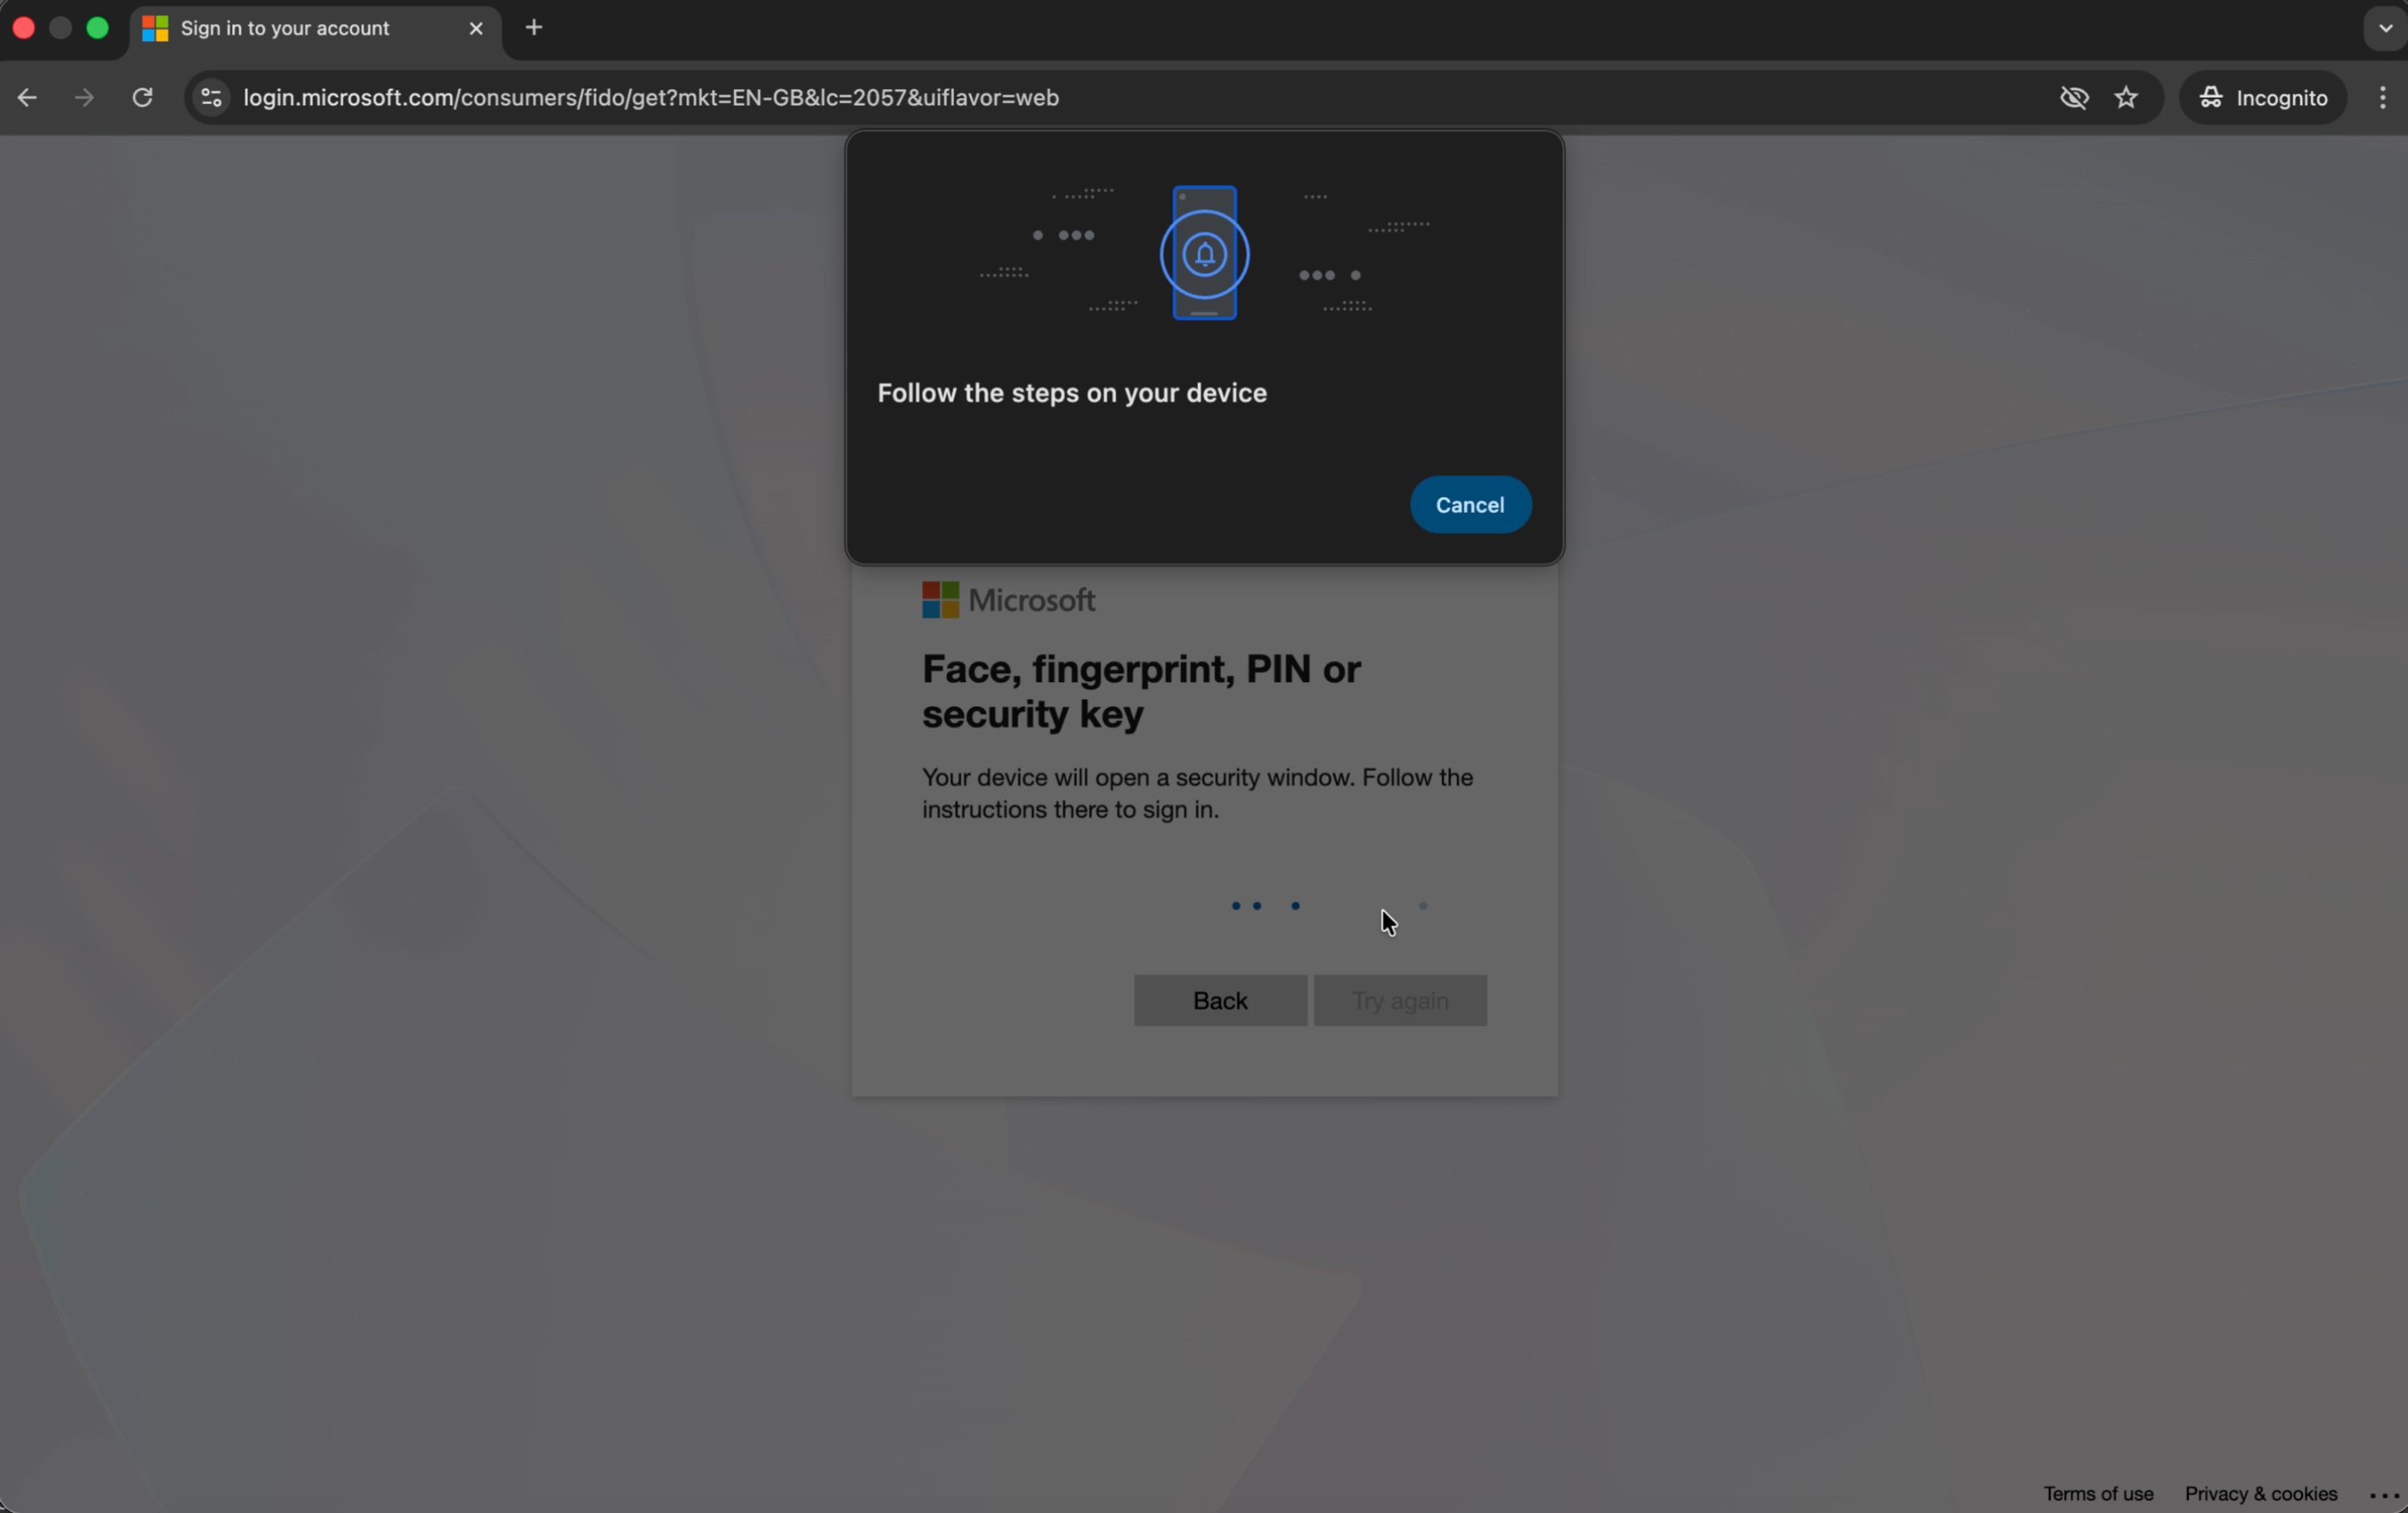
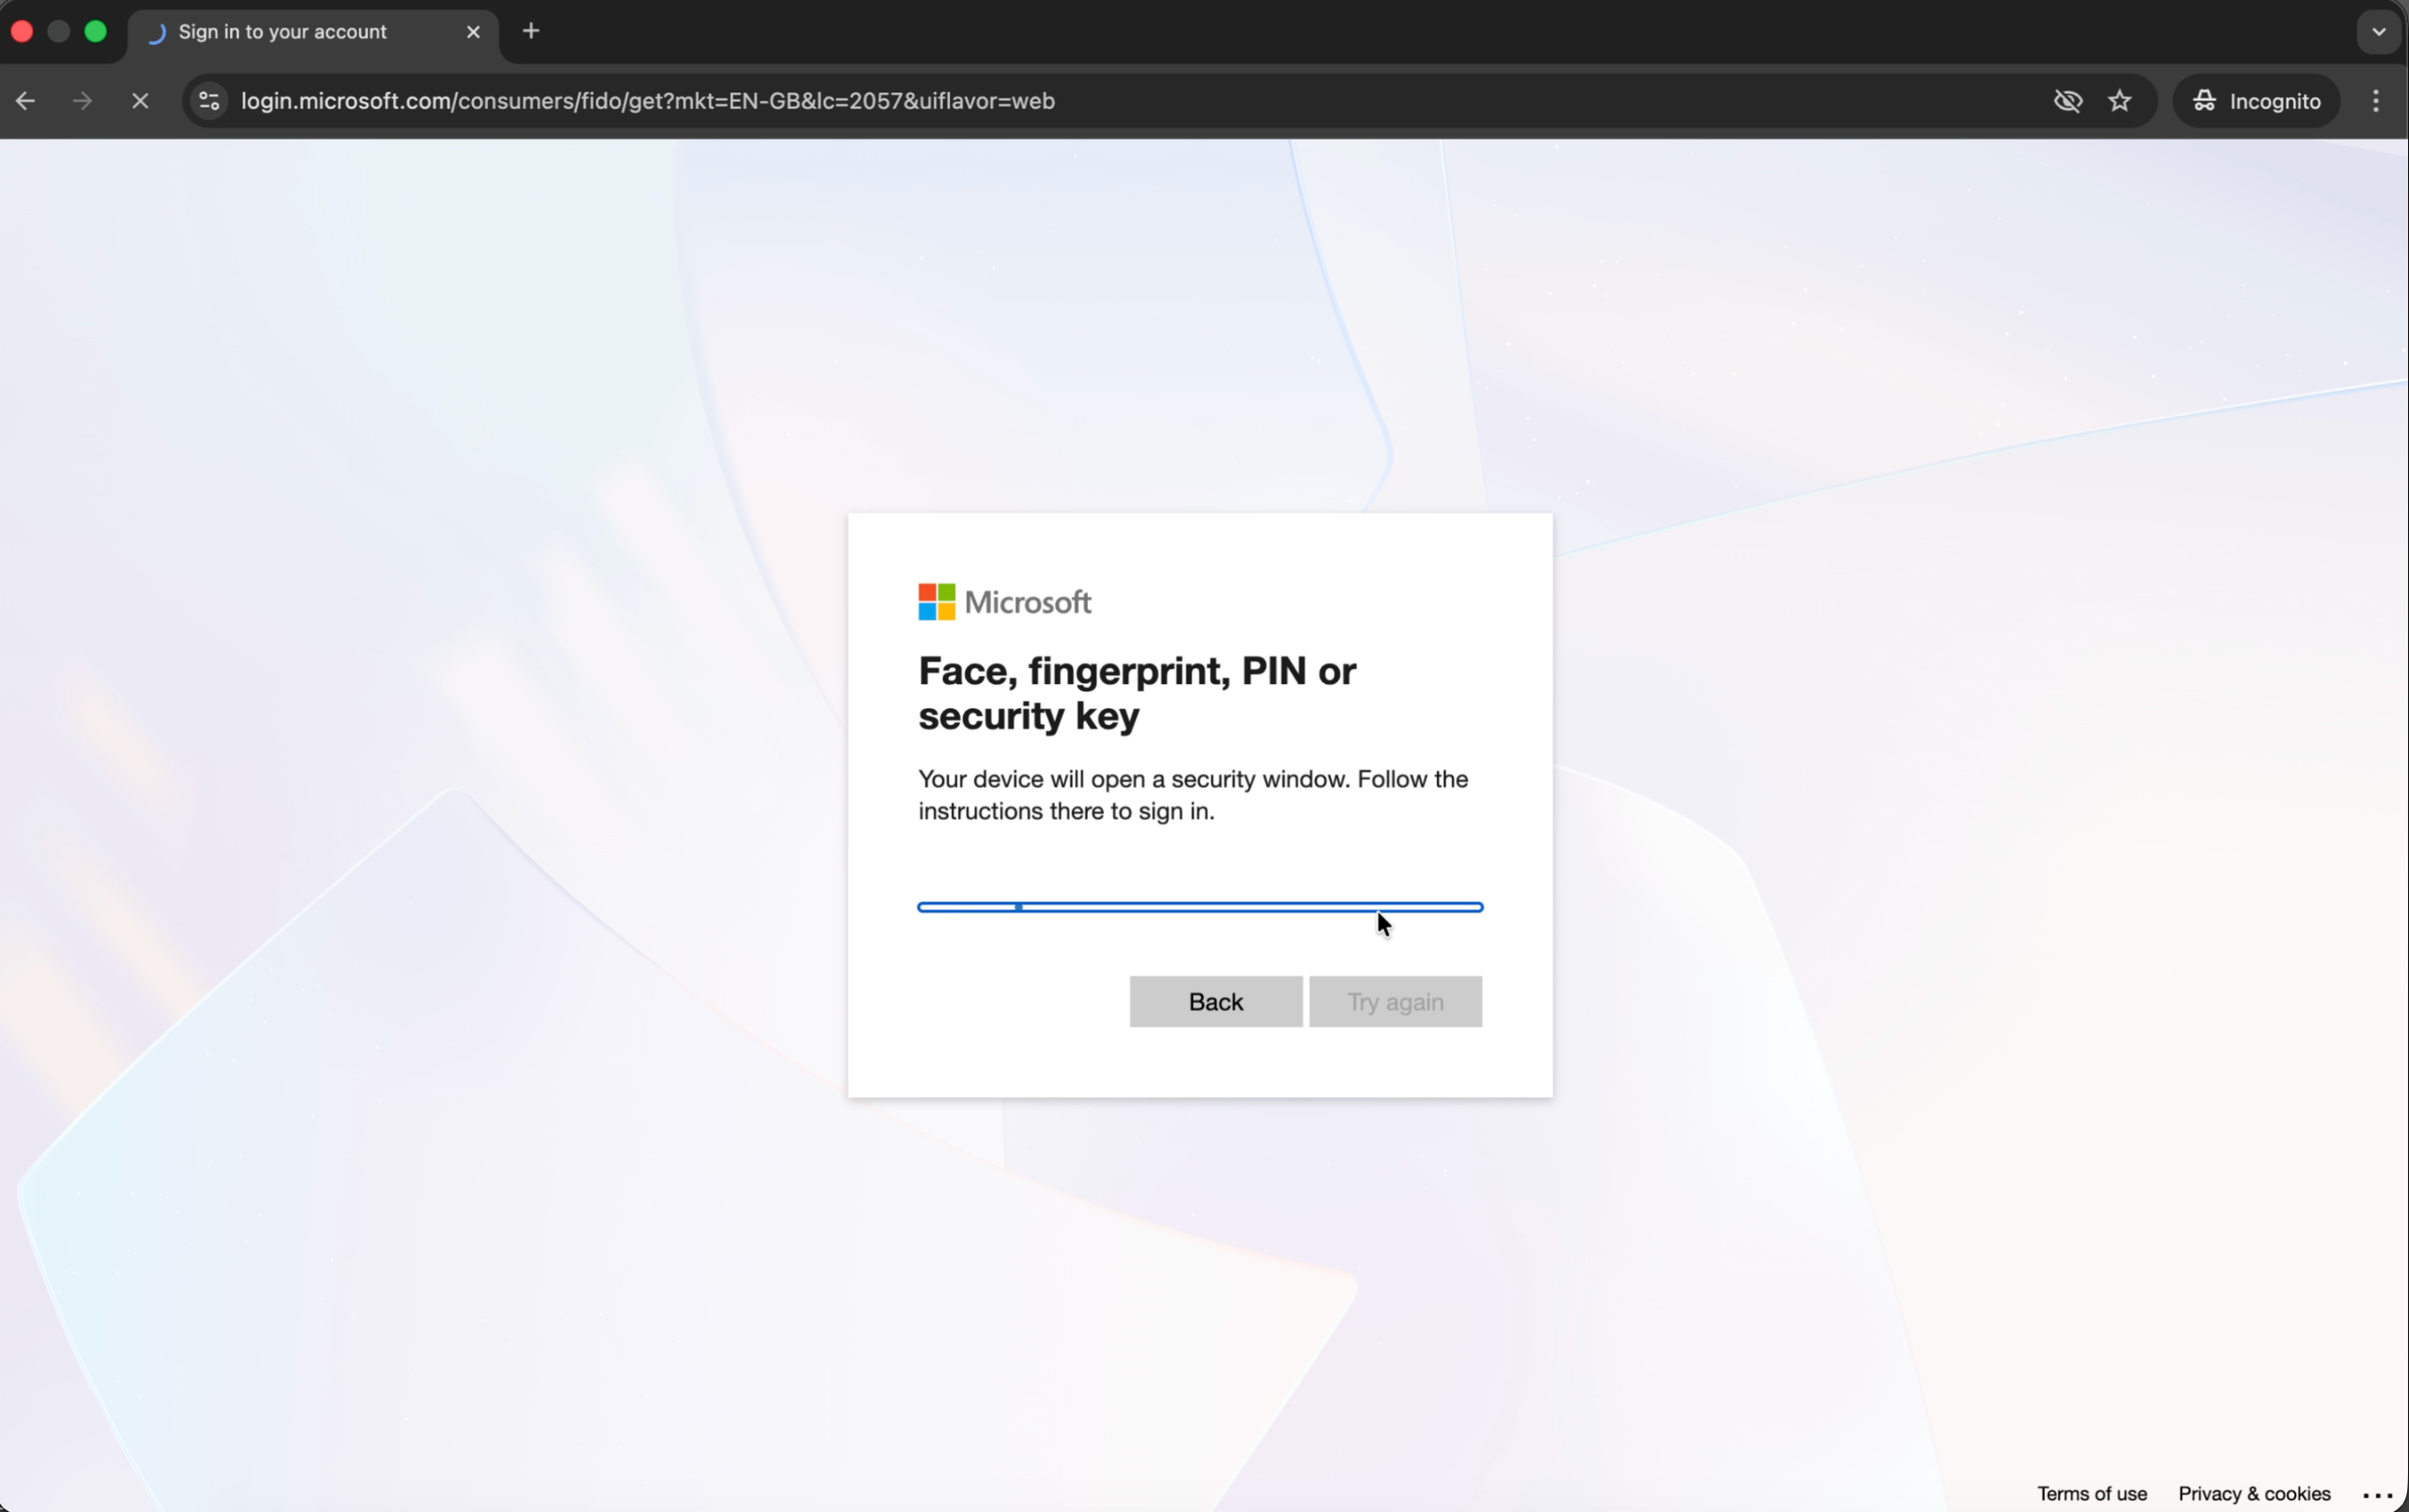
4. Face, Fingerprint, PIN or Security Key
Action required in app — Your device will open a security window. Follow the on-screen instructions — this may be Face ID, fingerprint, or PIN depending on your device.
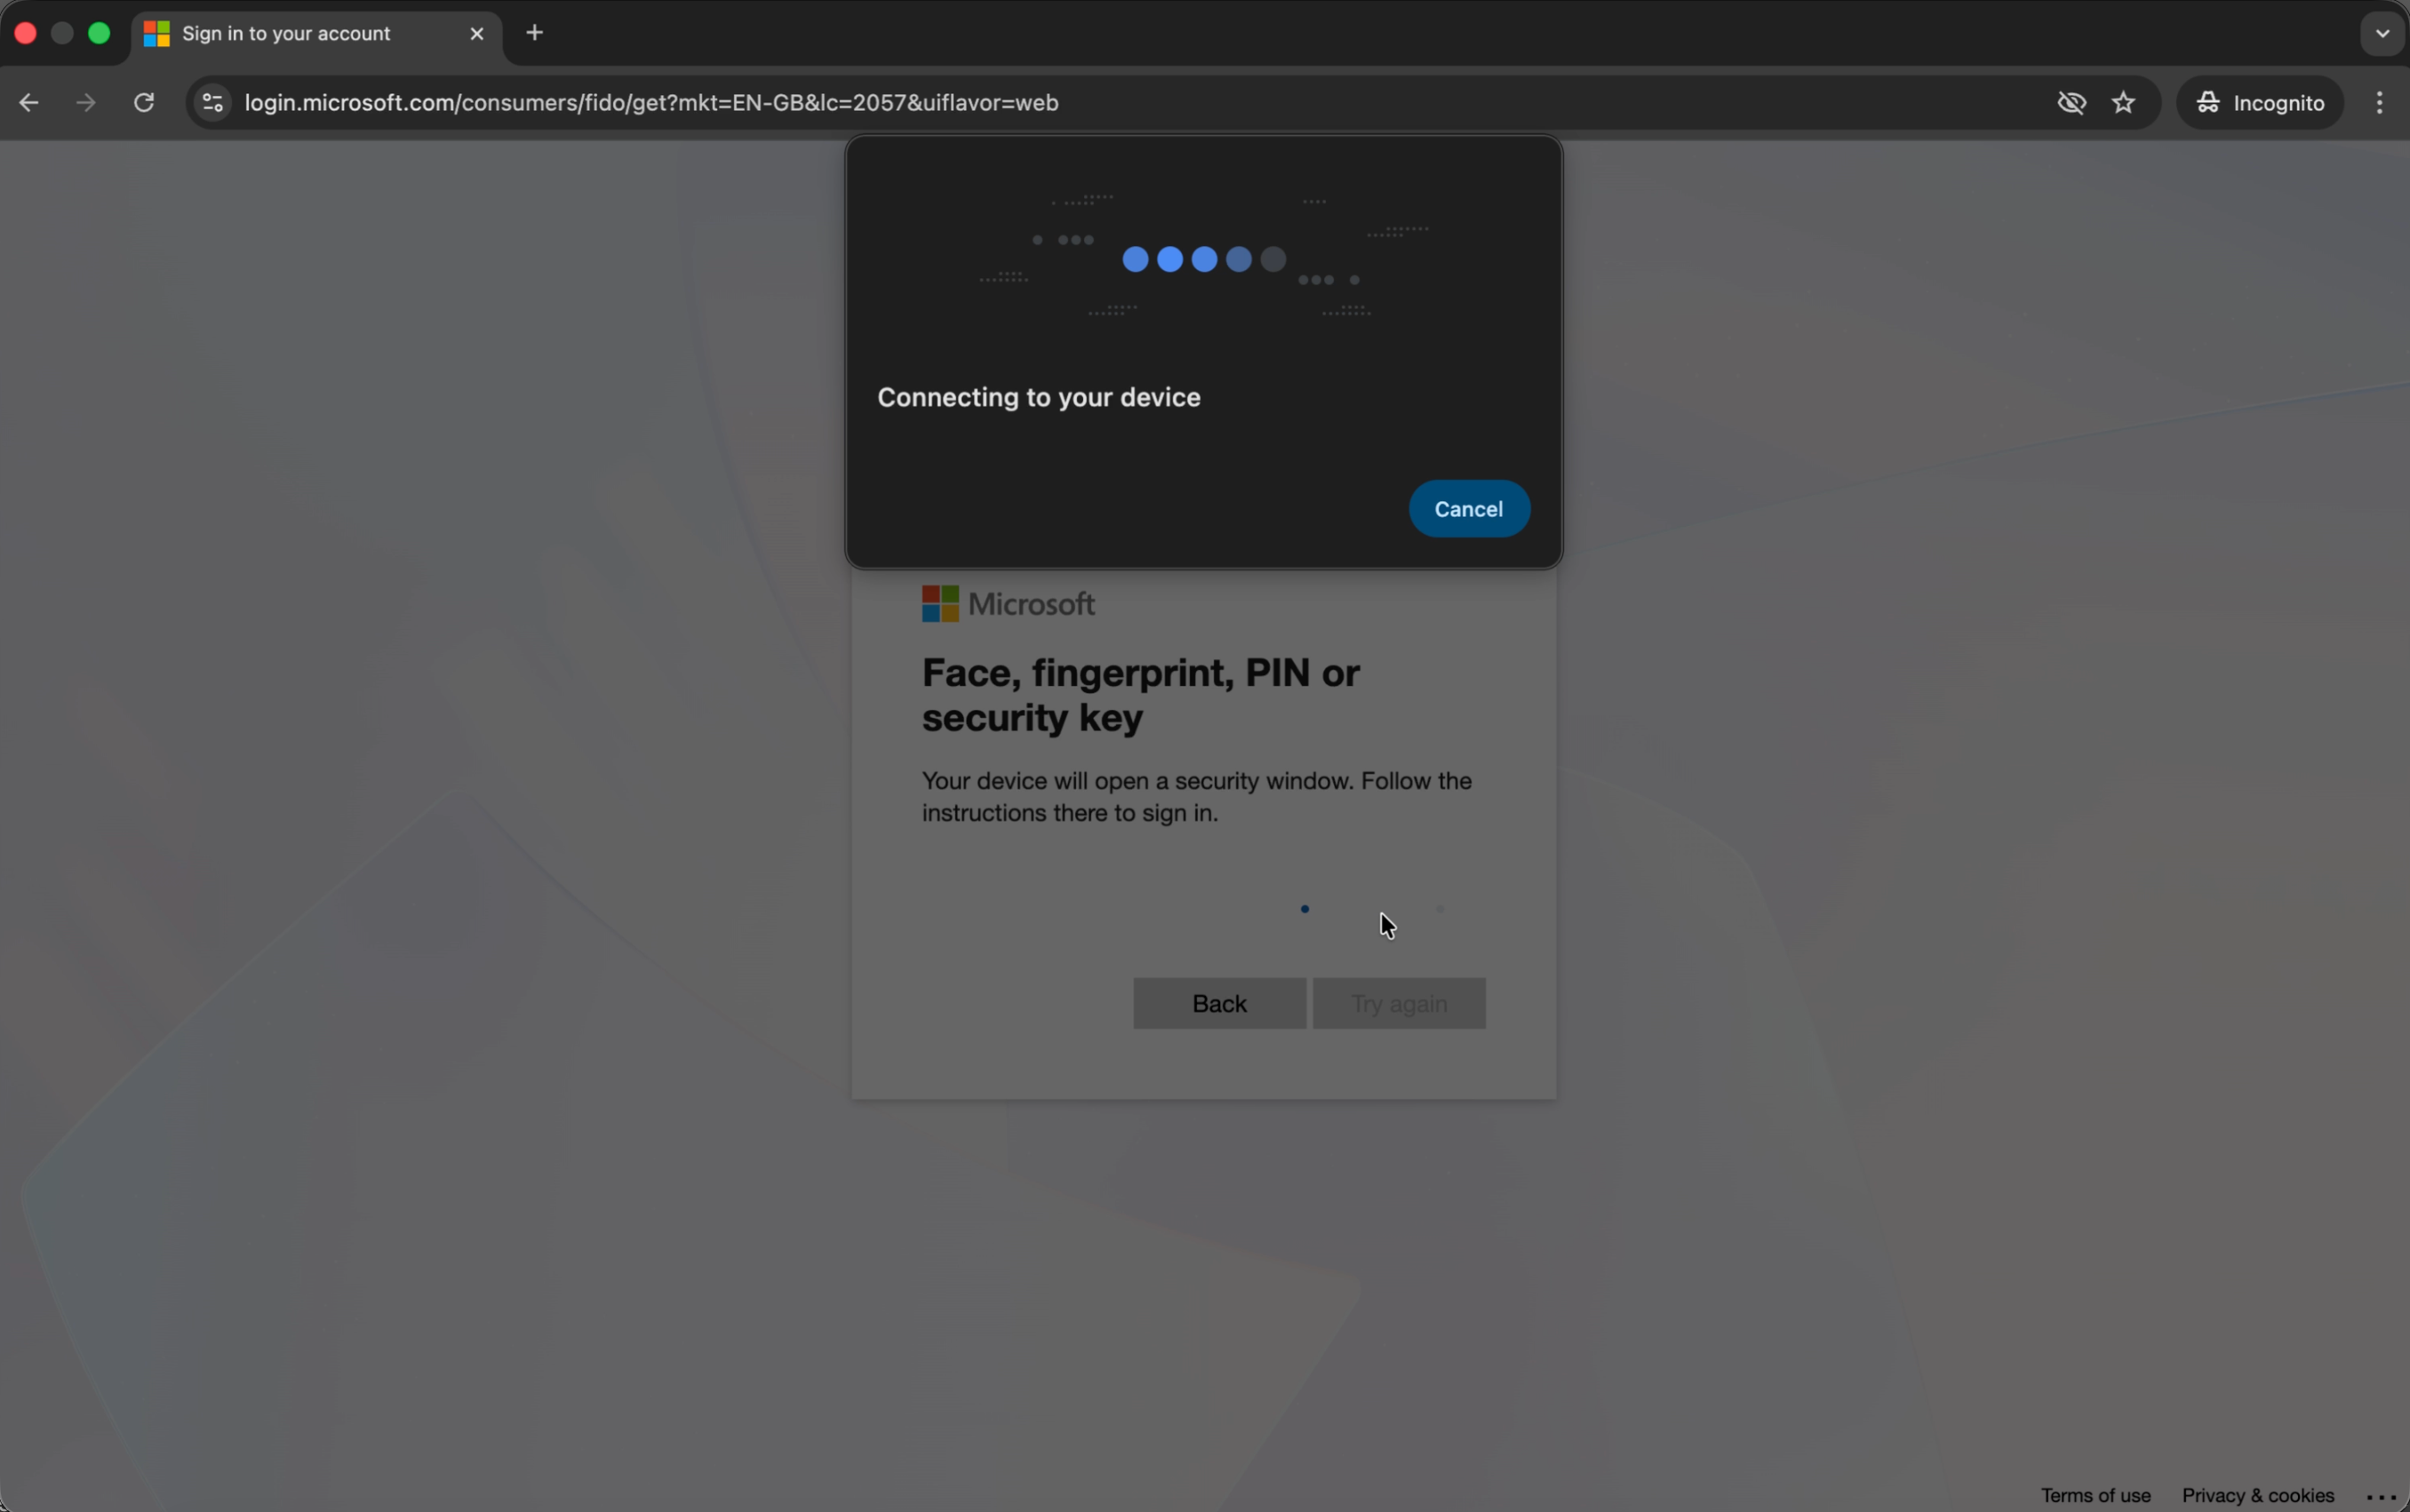
5. Connecting to Your Device
The browser will show Connecting to your device with a progress indicator. Wait for this to complete — no action needed on your part.
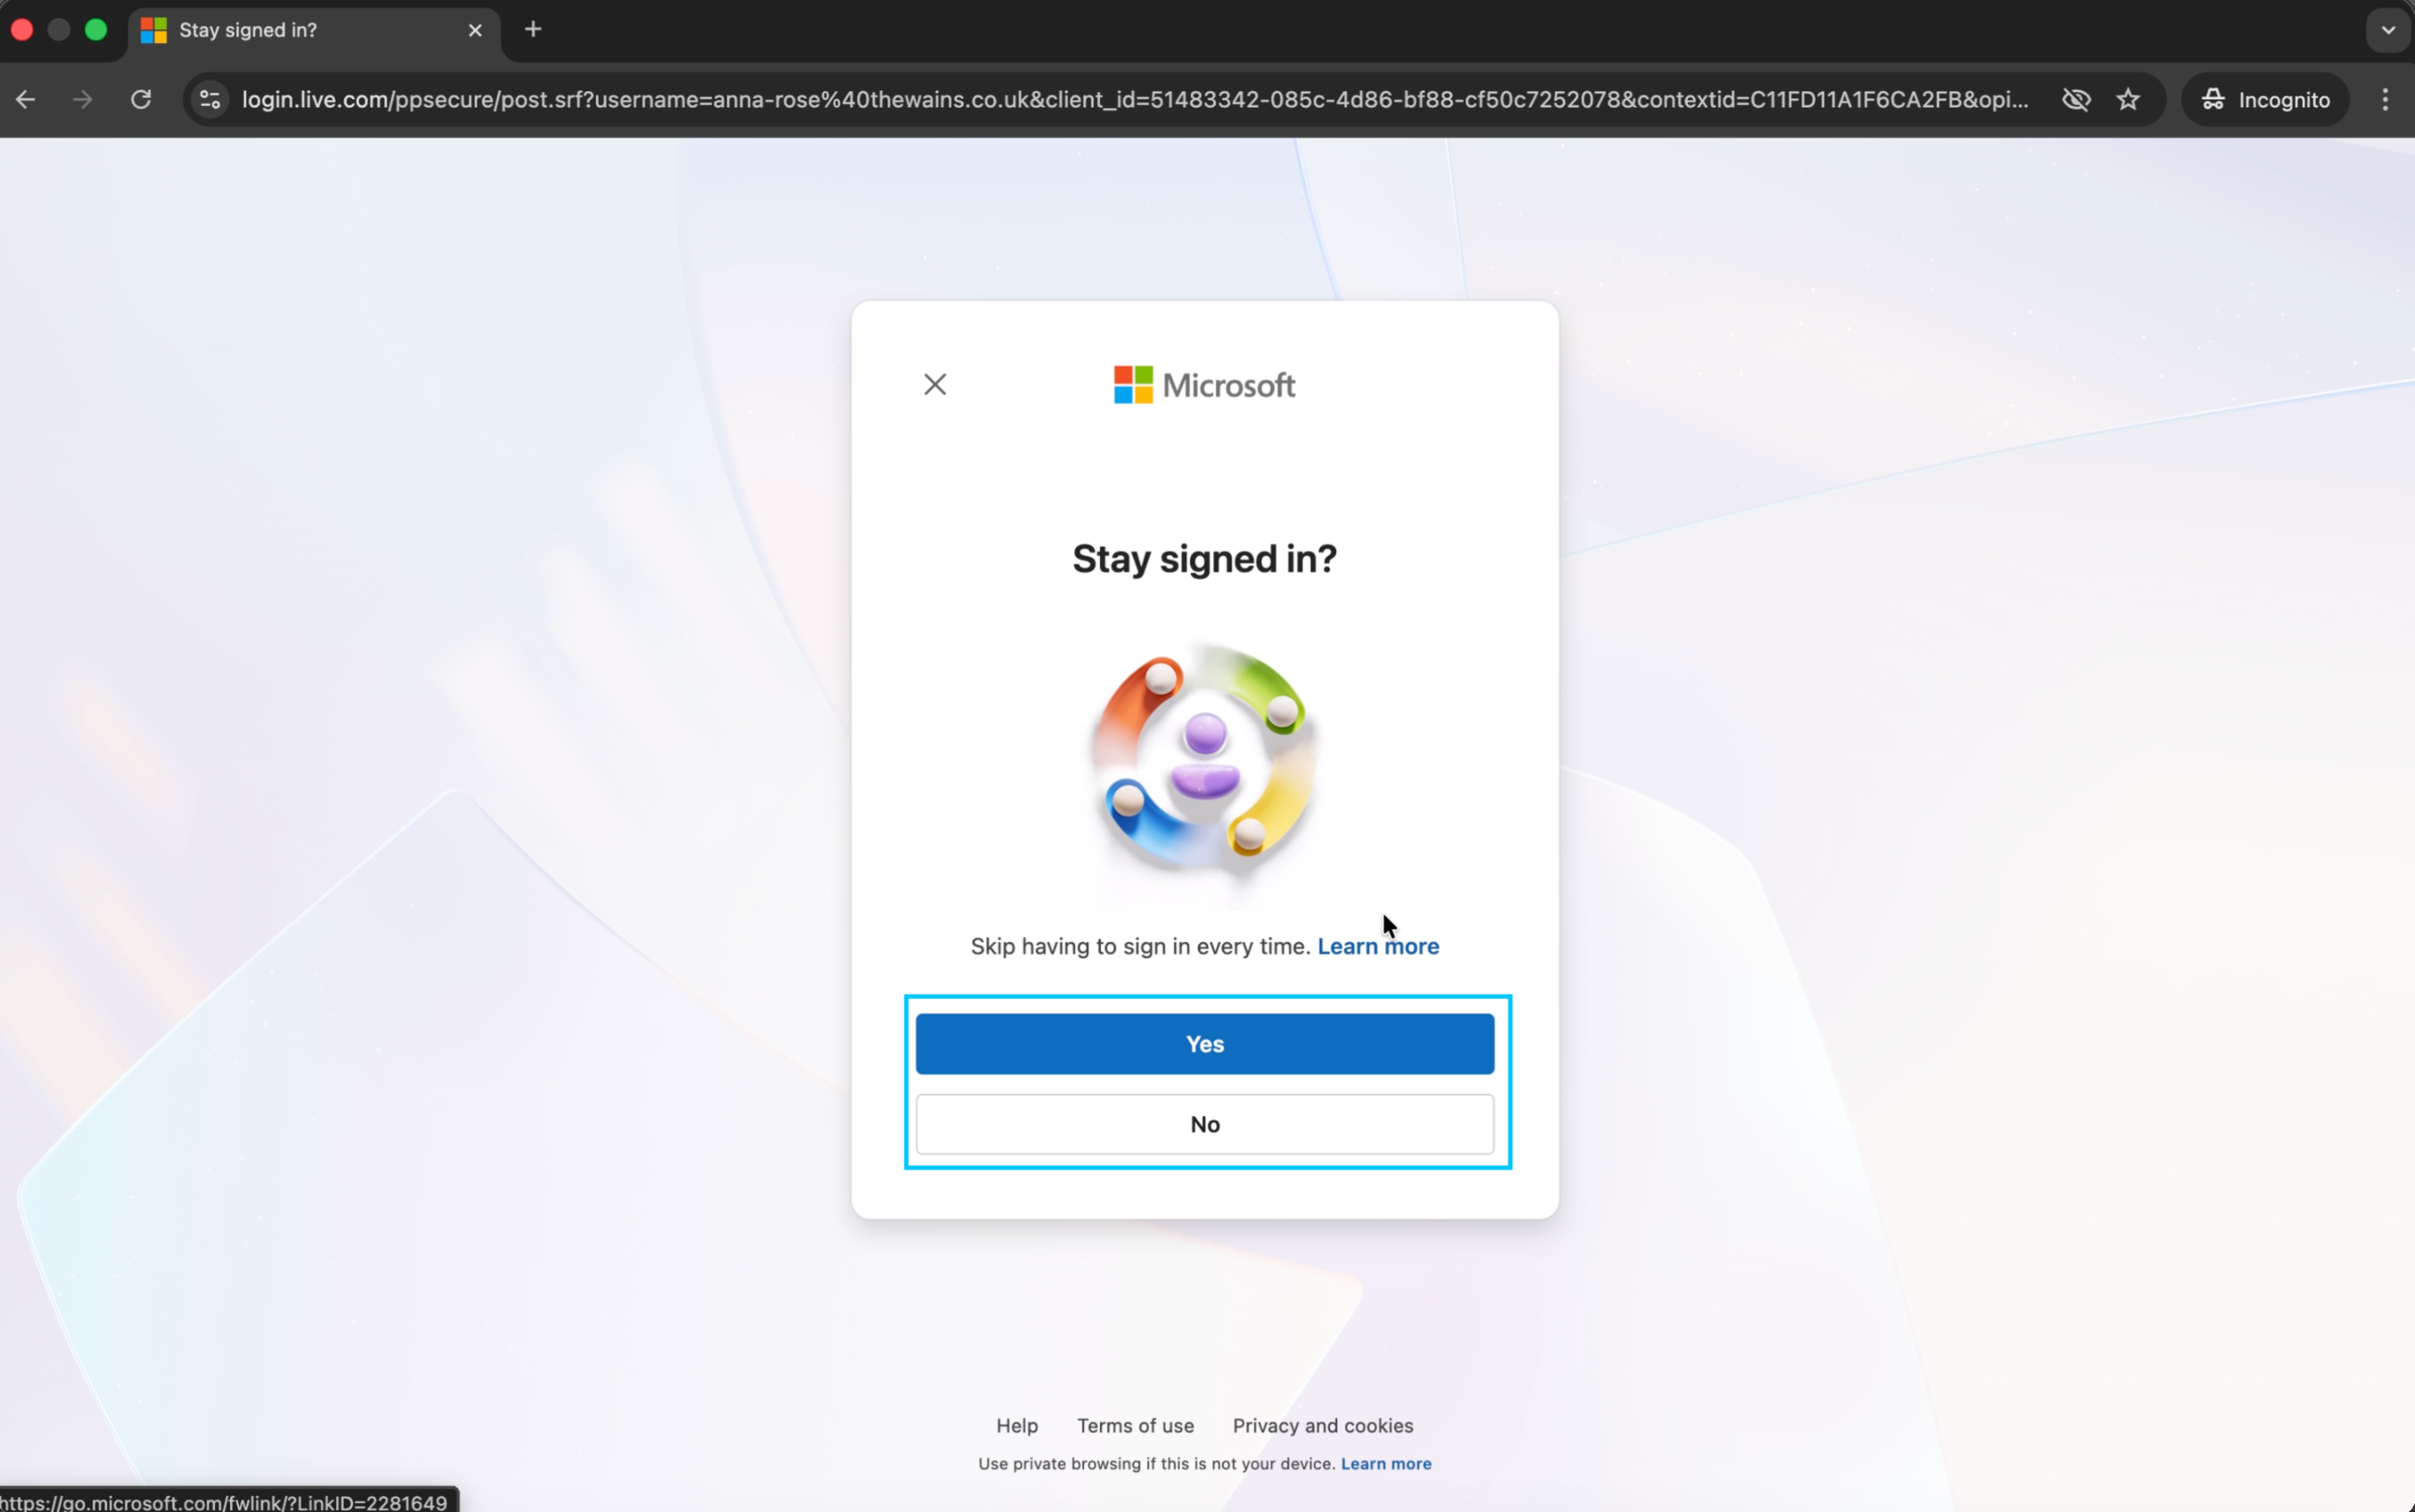
6. Stay Signed In?
Microsoft will ask if you want to stay signed in. Since this is a first login, it is recommended to click No to keep your session secure. You can change this preference in future.
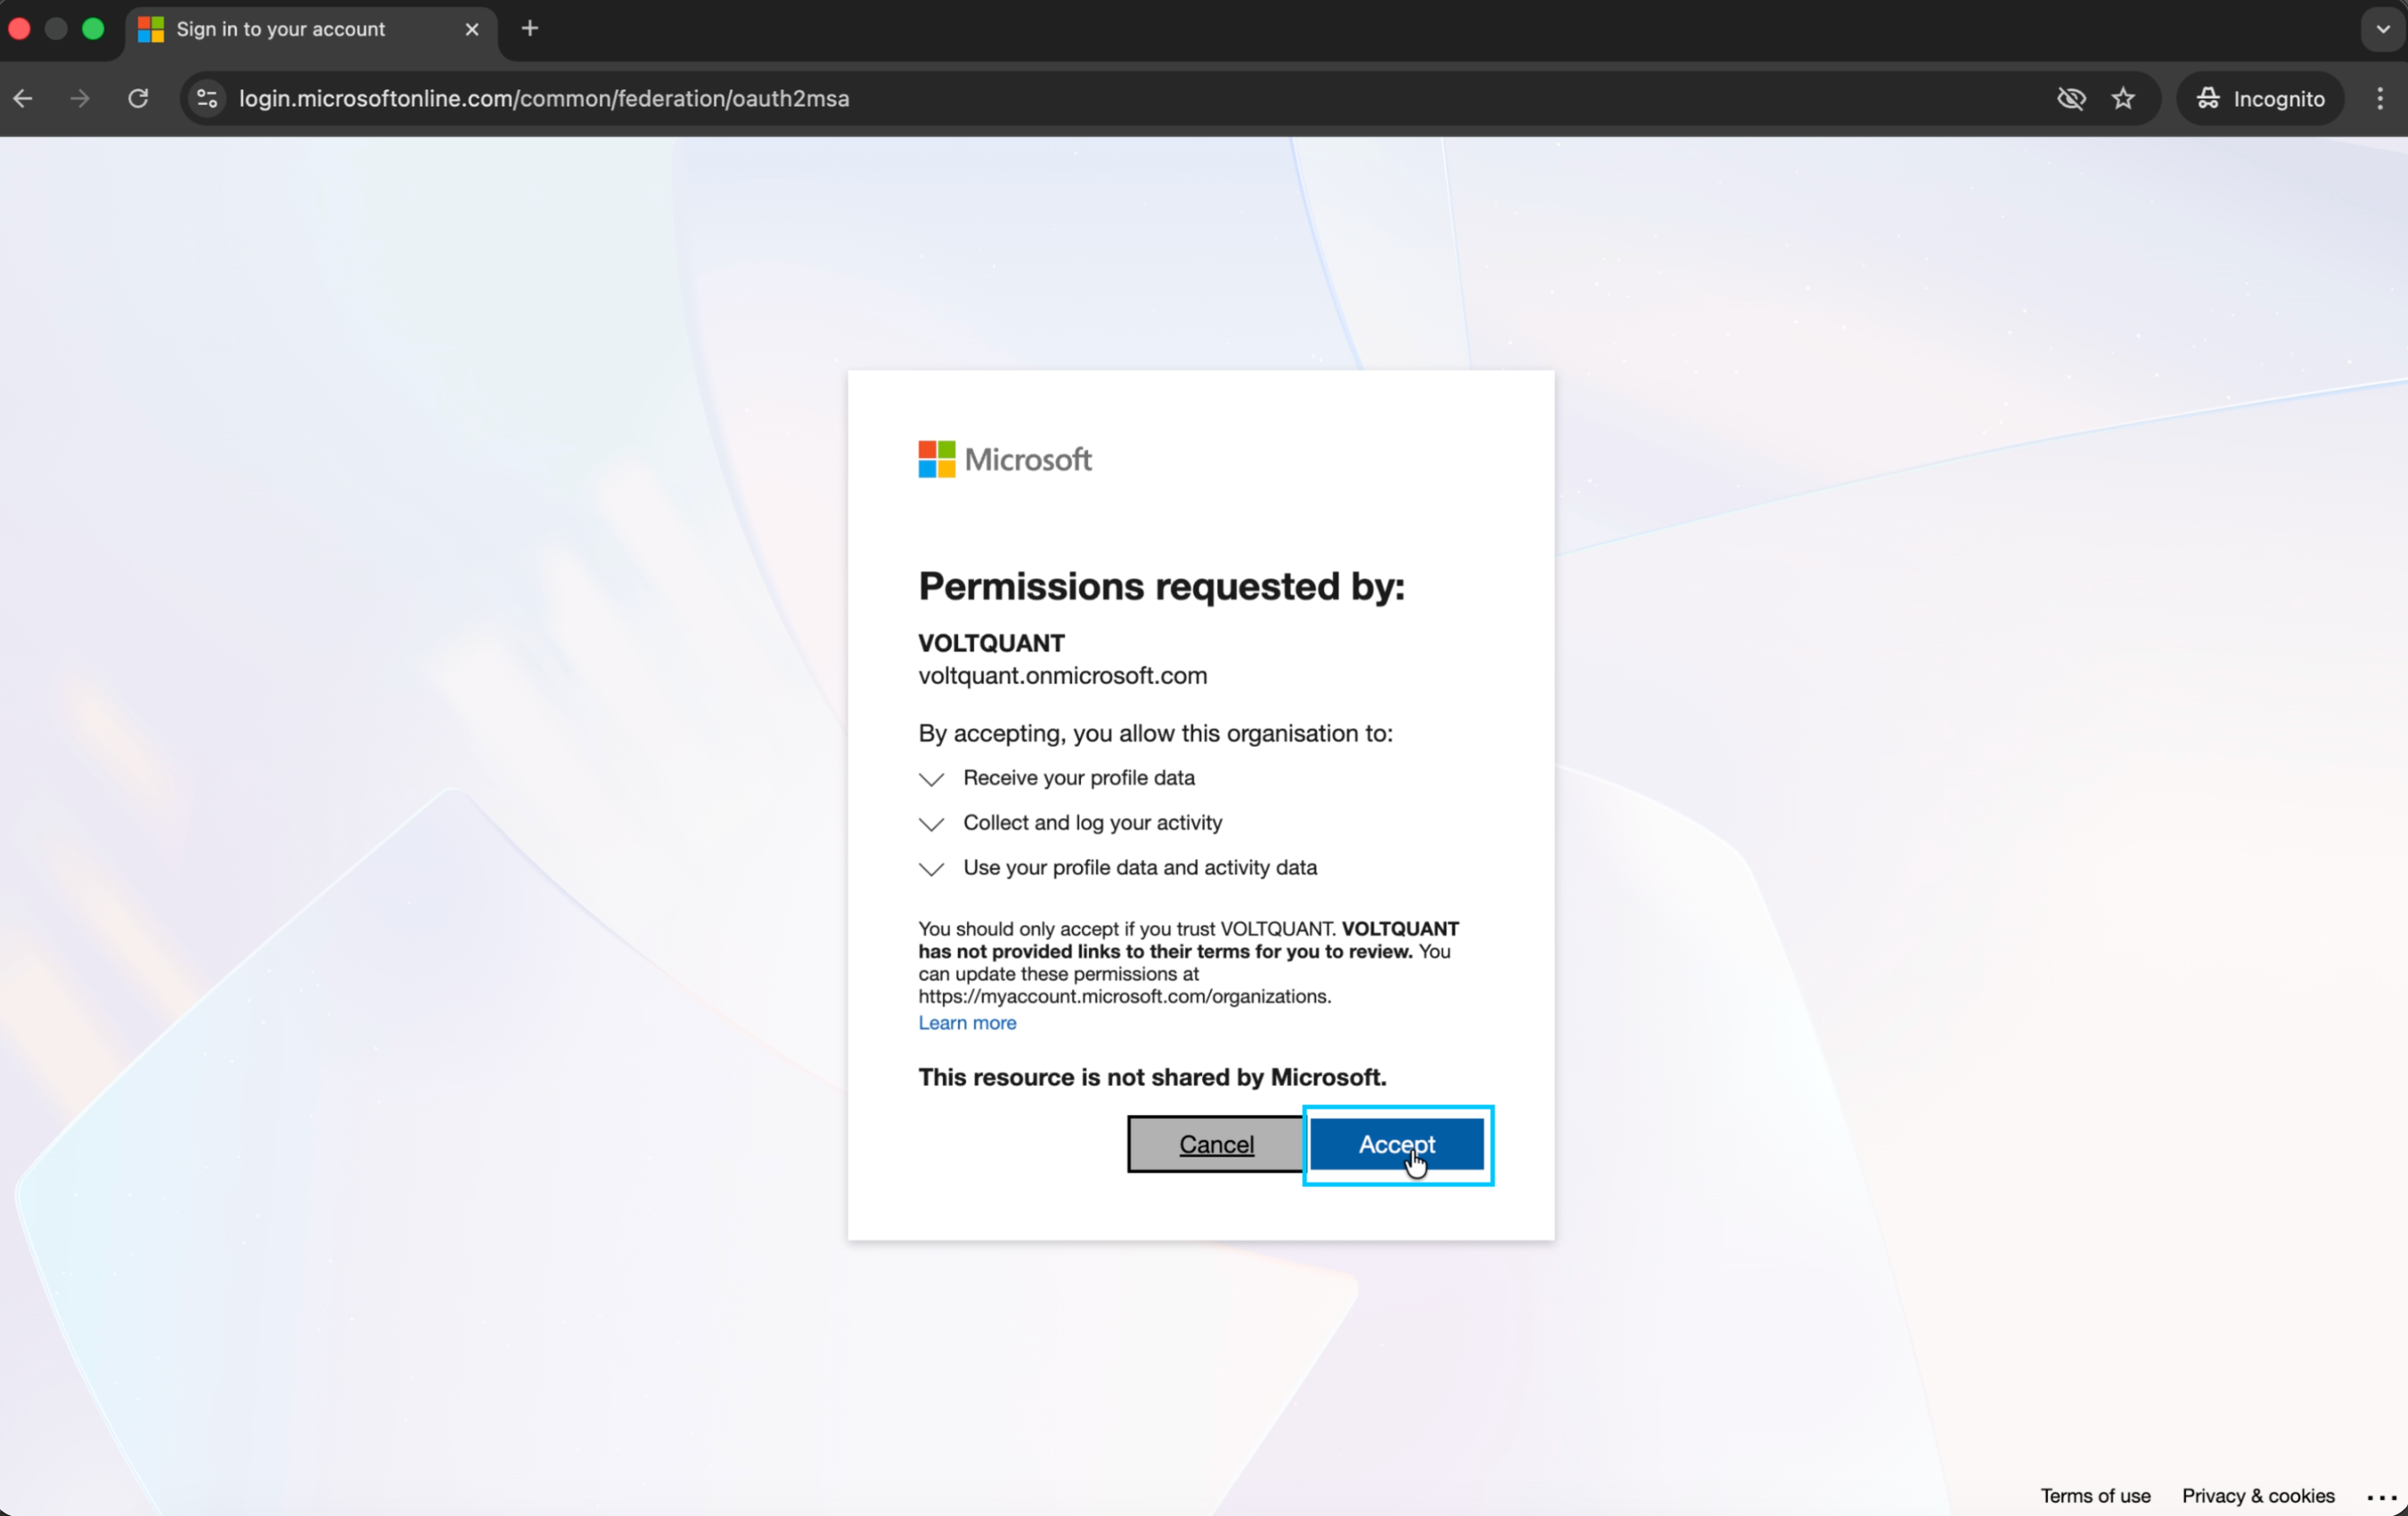
7. Grant Voltquant Permissions
A permissions screen will appear from VOLTQUANT (voltquant.onmicrosoft.com). This is expected and legitimate. Click Accept to allow Voltquant to access your profile data.
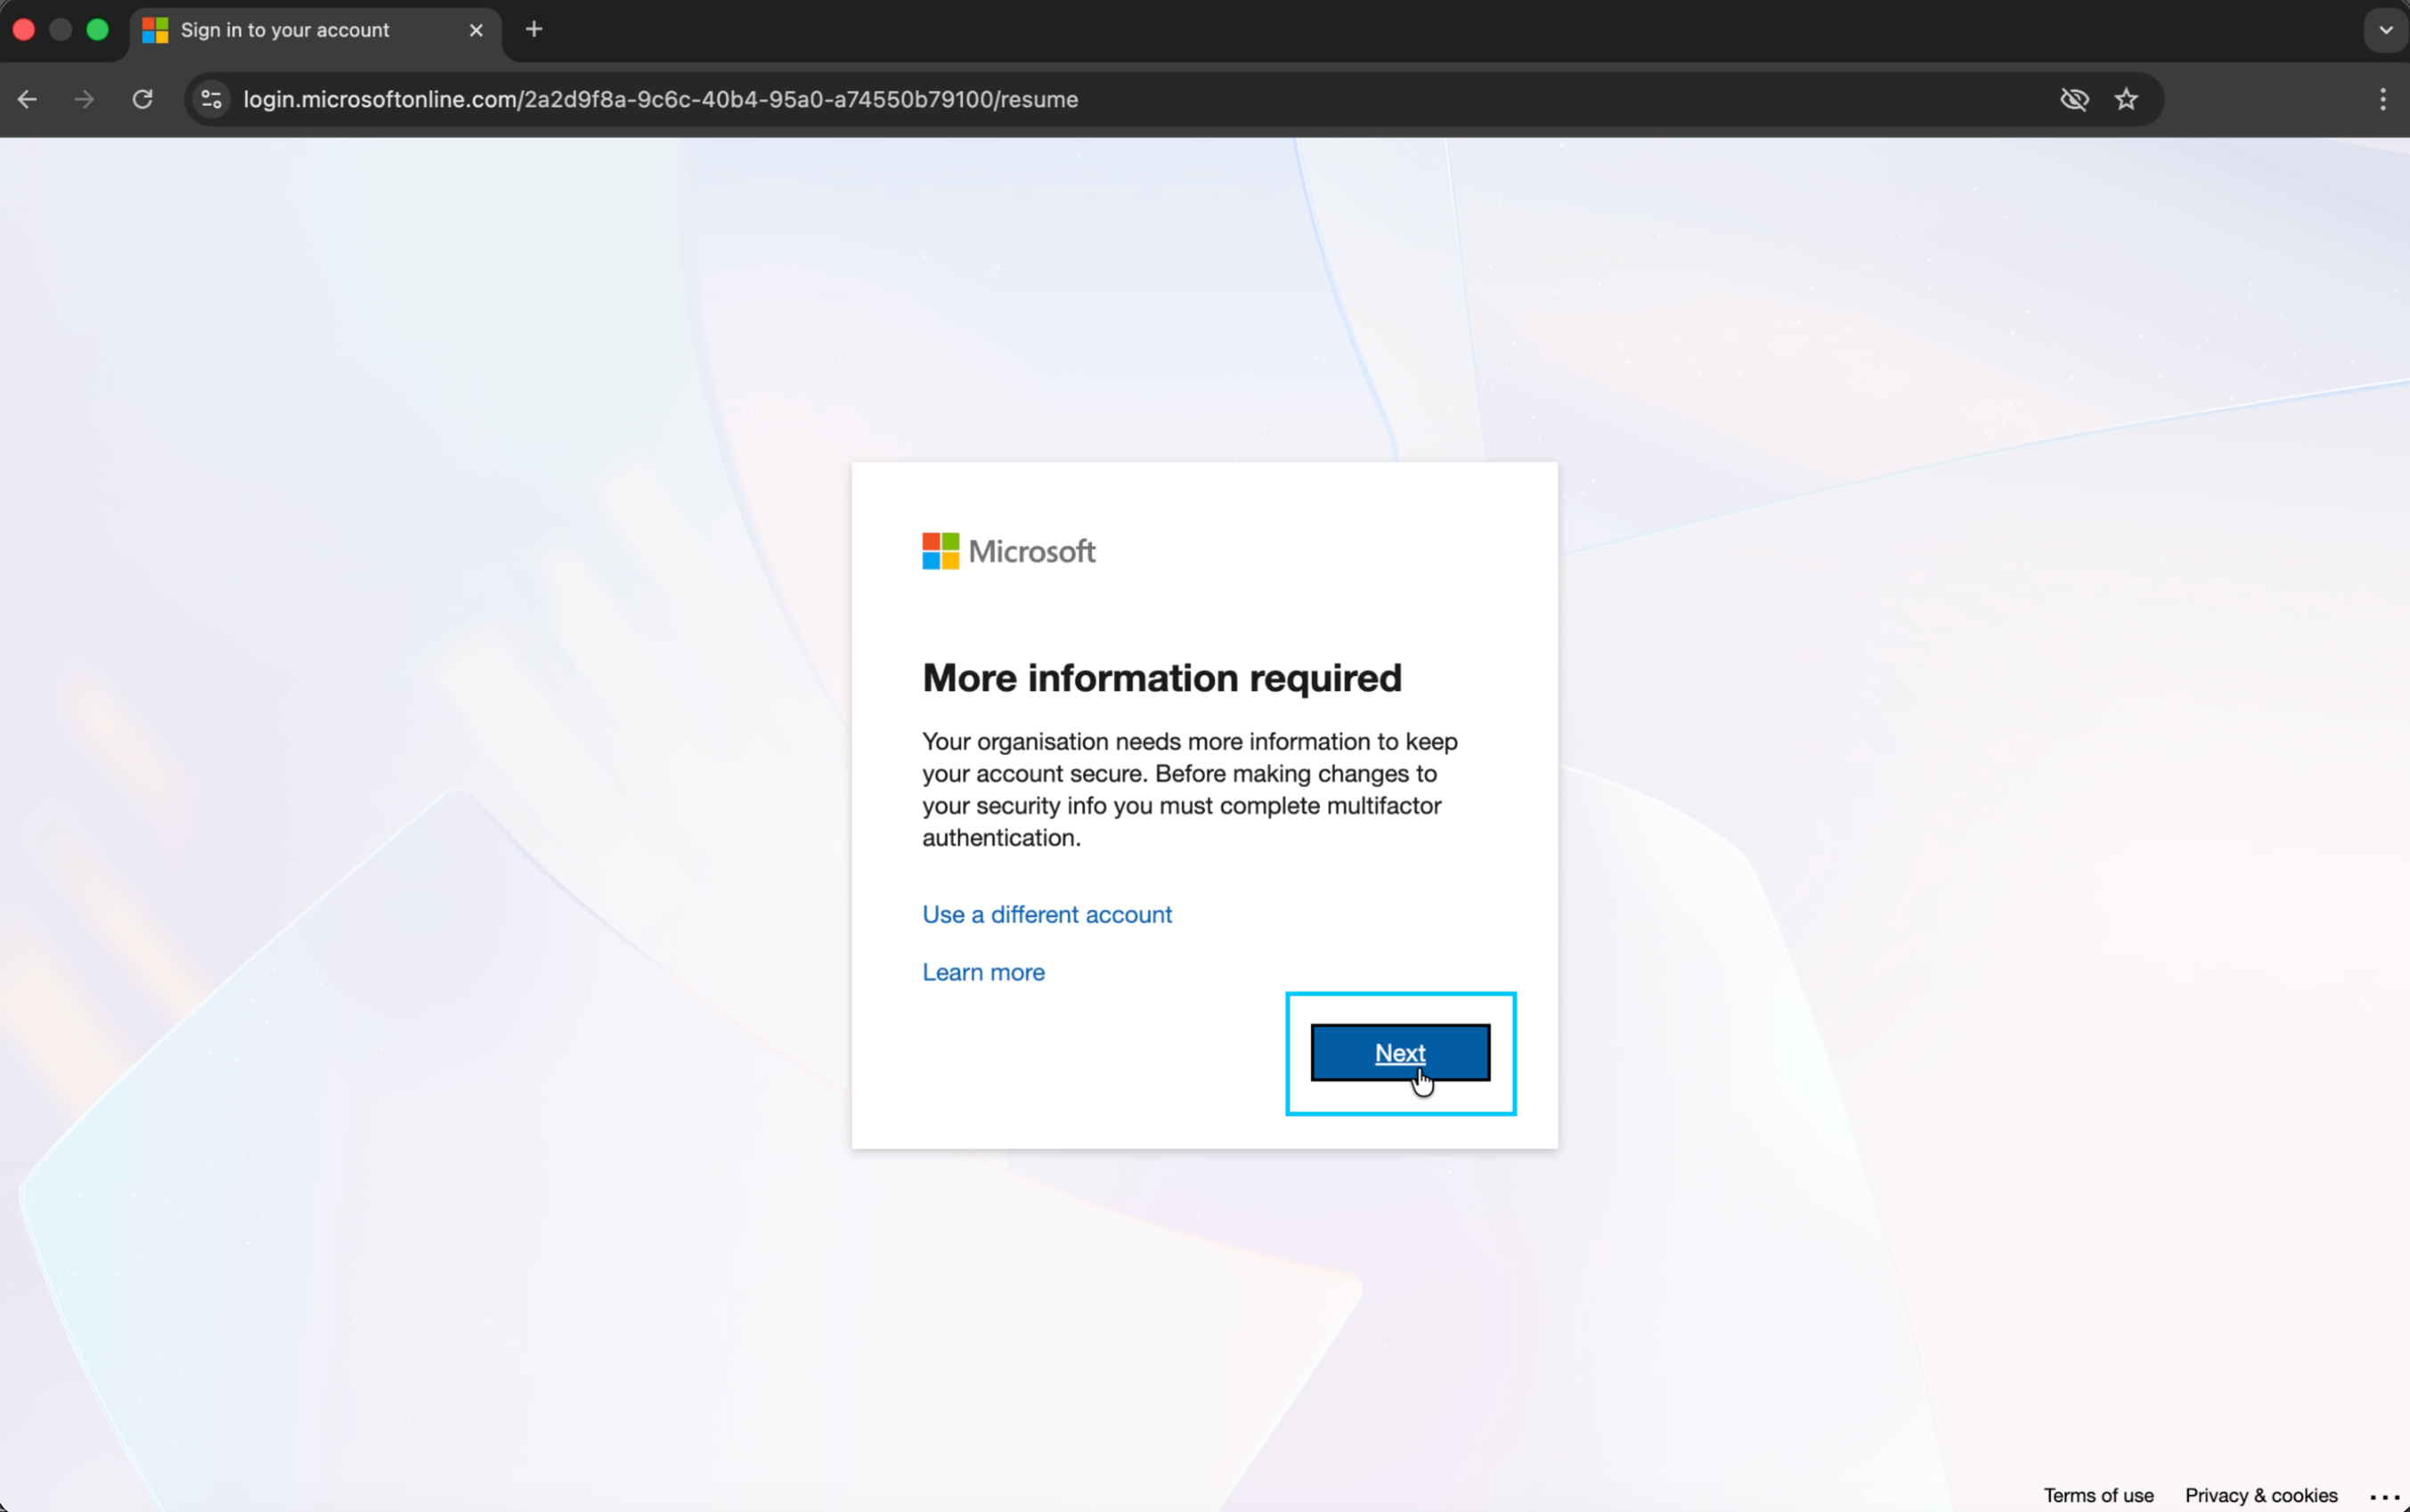
8. More Information Required
Microsoft will inform you that your organisation requires additional security info before proceeding. Click Next to begin setting up multi-factor authentication (MFA).
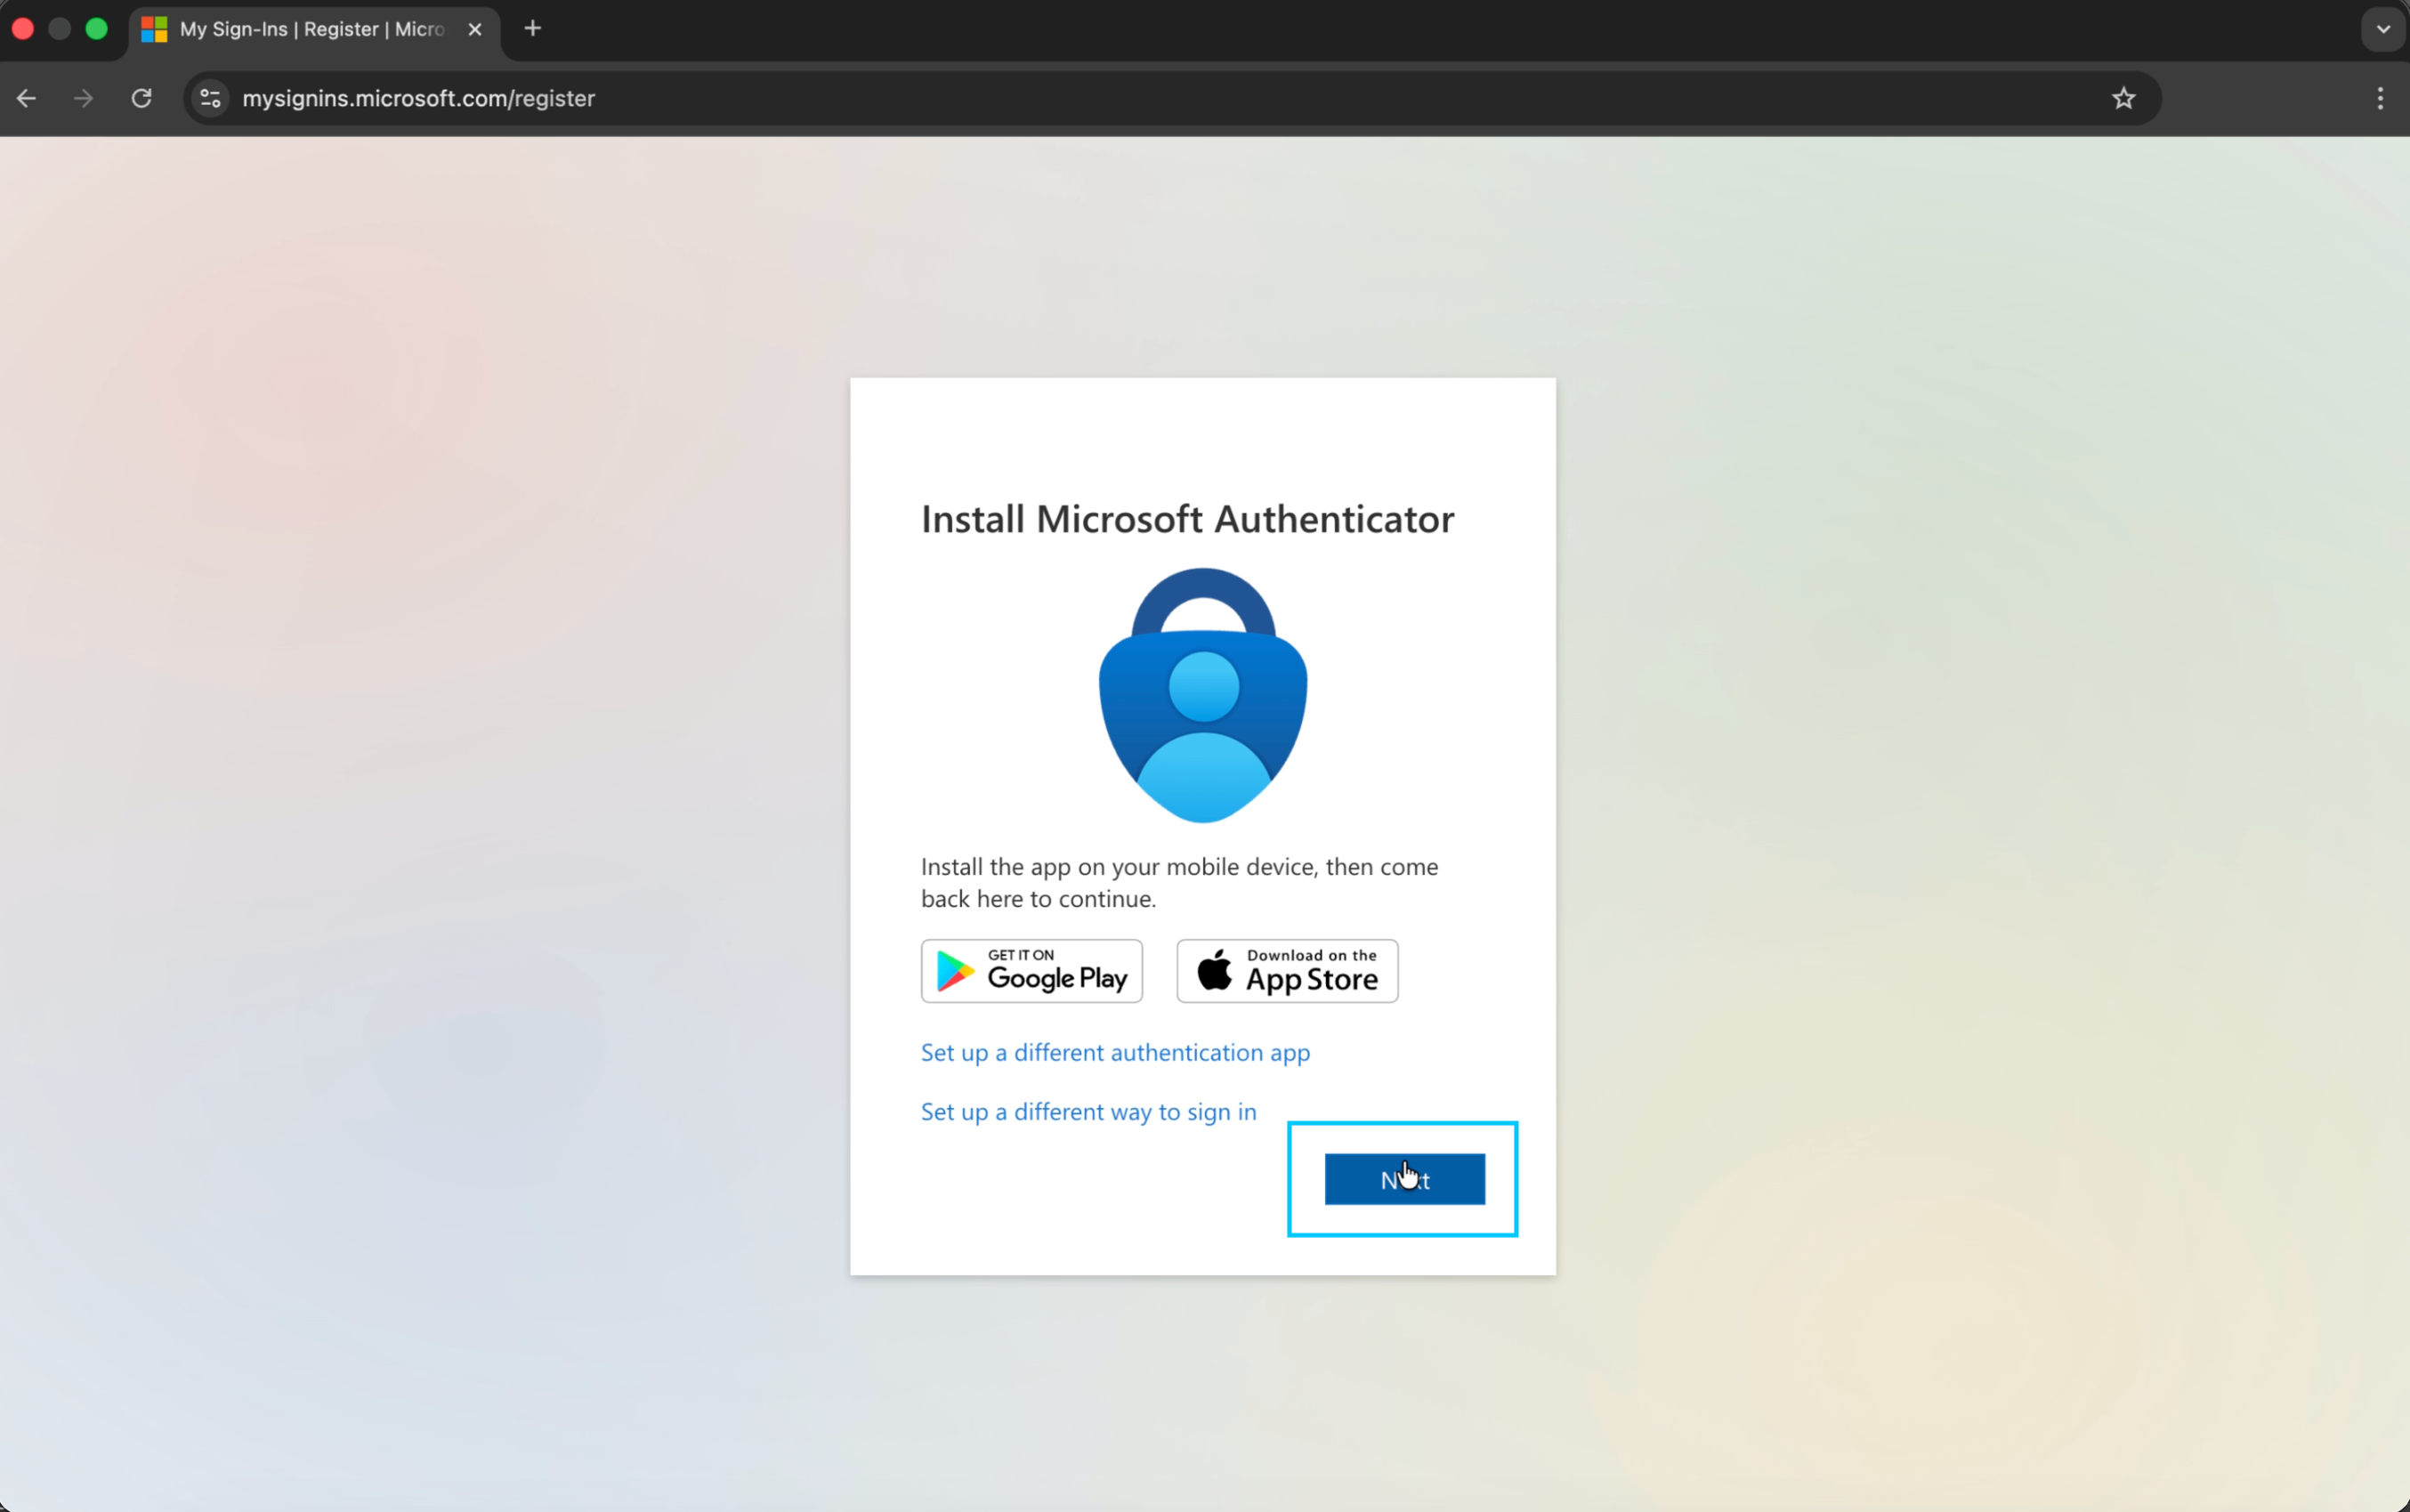
9. Install Microsoft Authenticator
Action required in app — The setup wizard will prompt you to install Microsoft Authenticator. If you have already downloaded the app (see prerequisites above), click Next to continue.
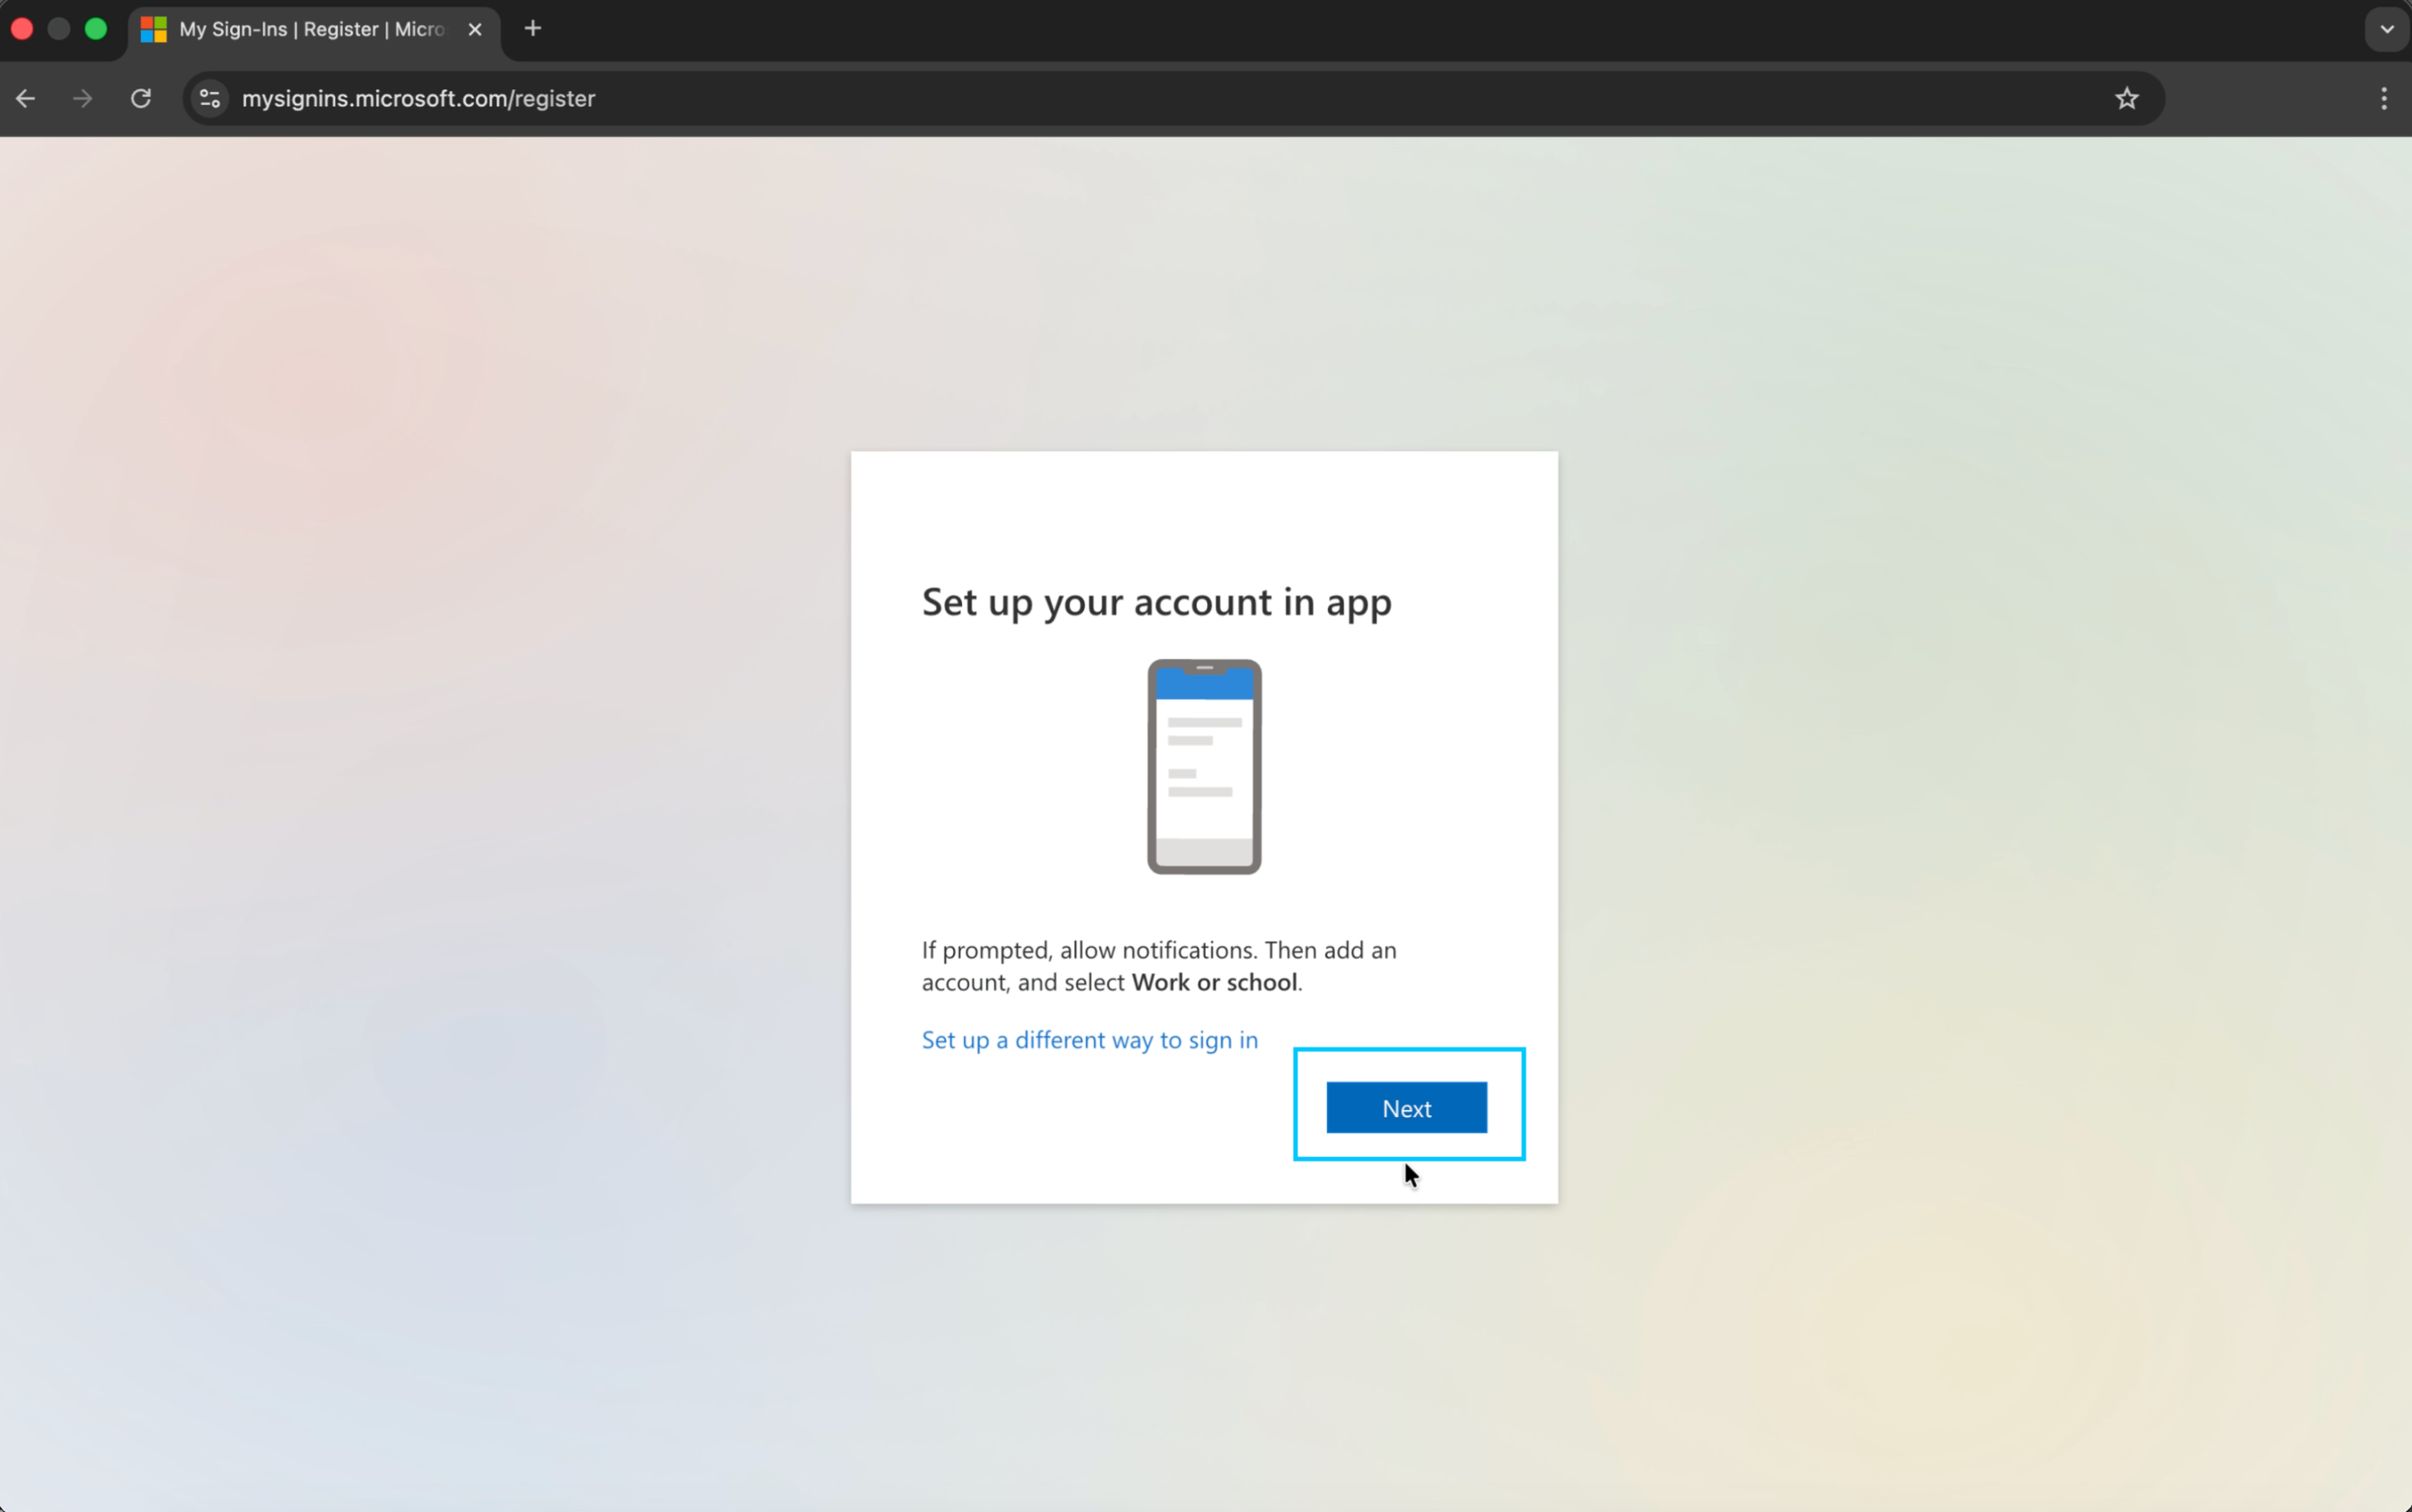
10. Set Up Account in the App
Action required in app — Open Microsoft Authenticator on your phone. Tap the + button, select Work or school account, and allow notifications if prompted. Return to the browser and click Next.
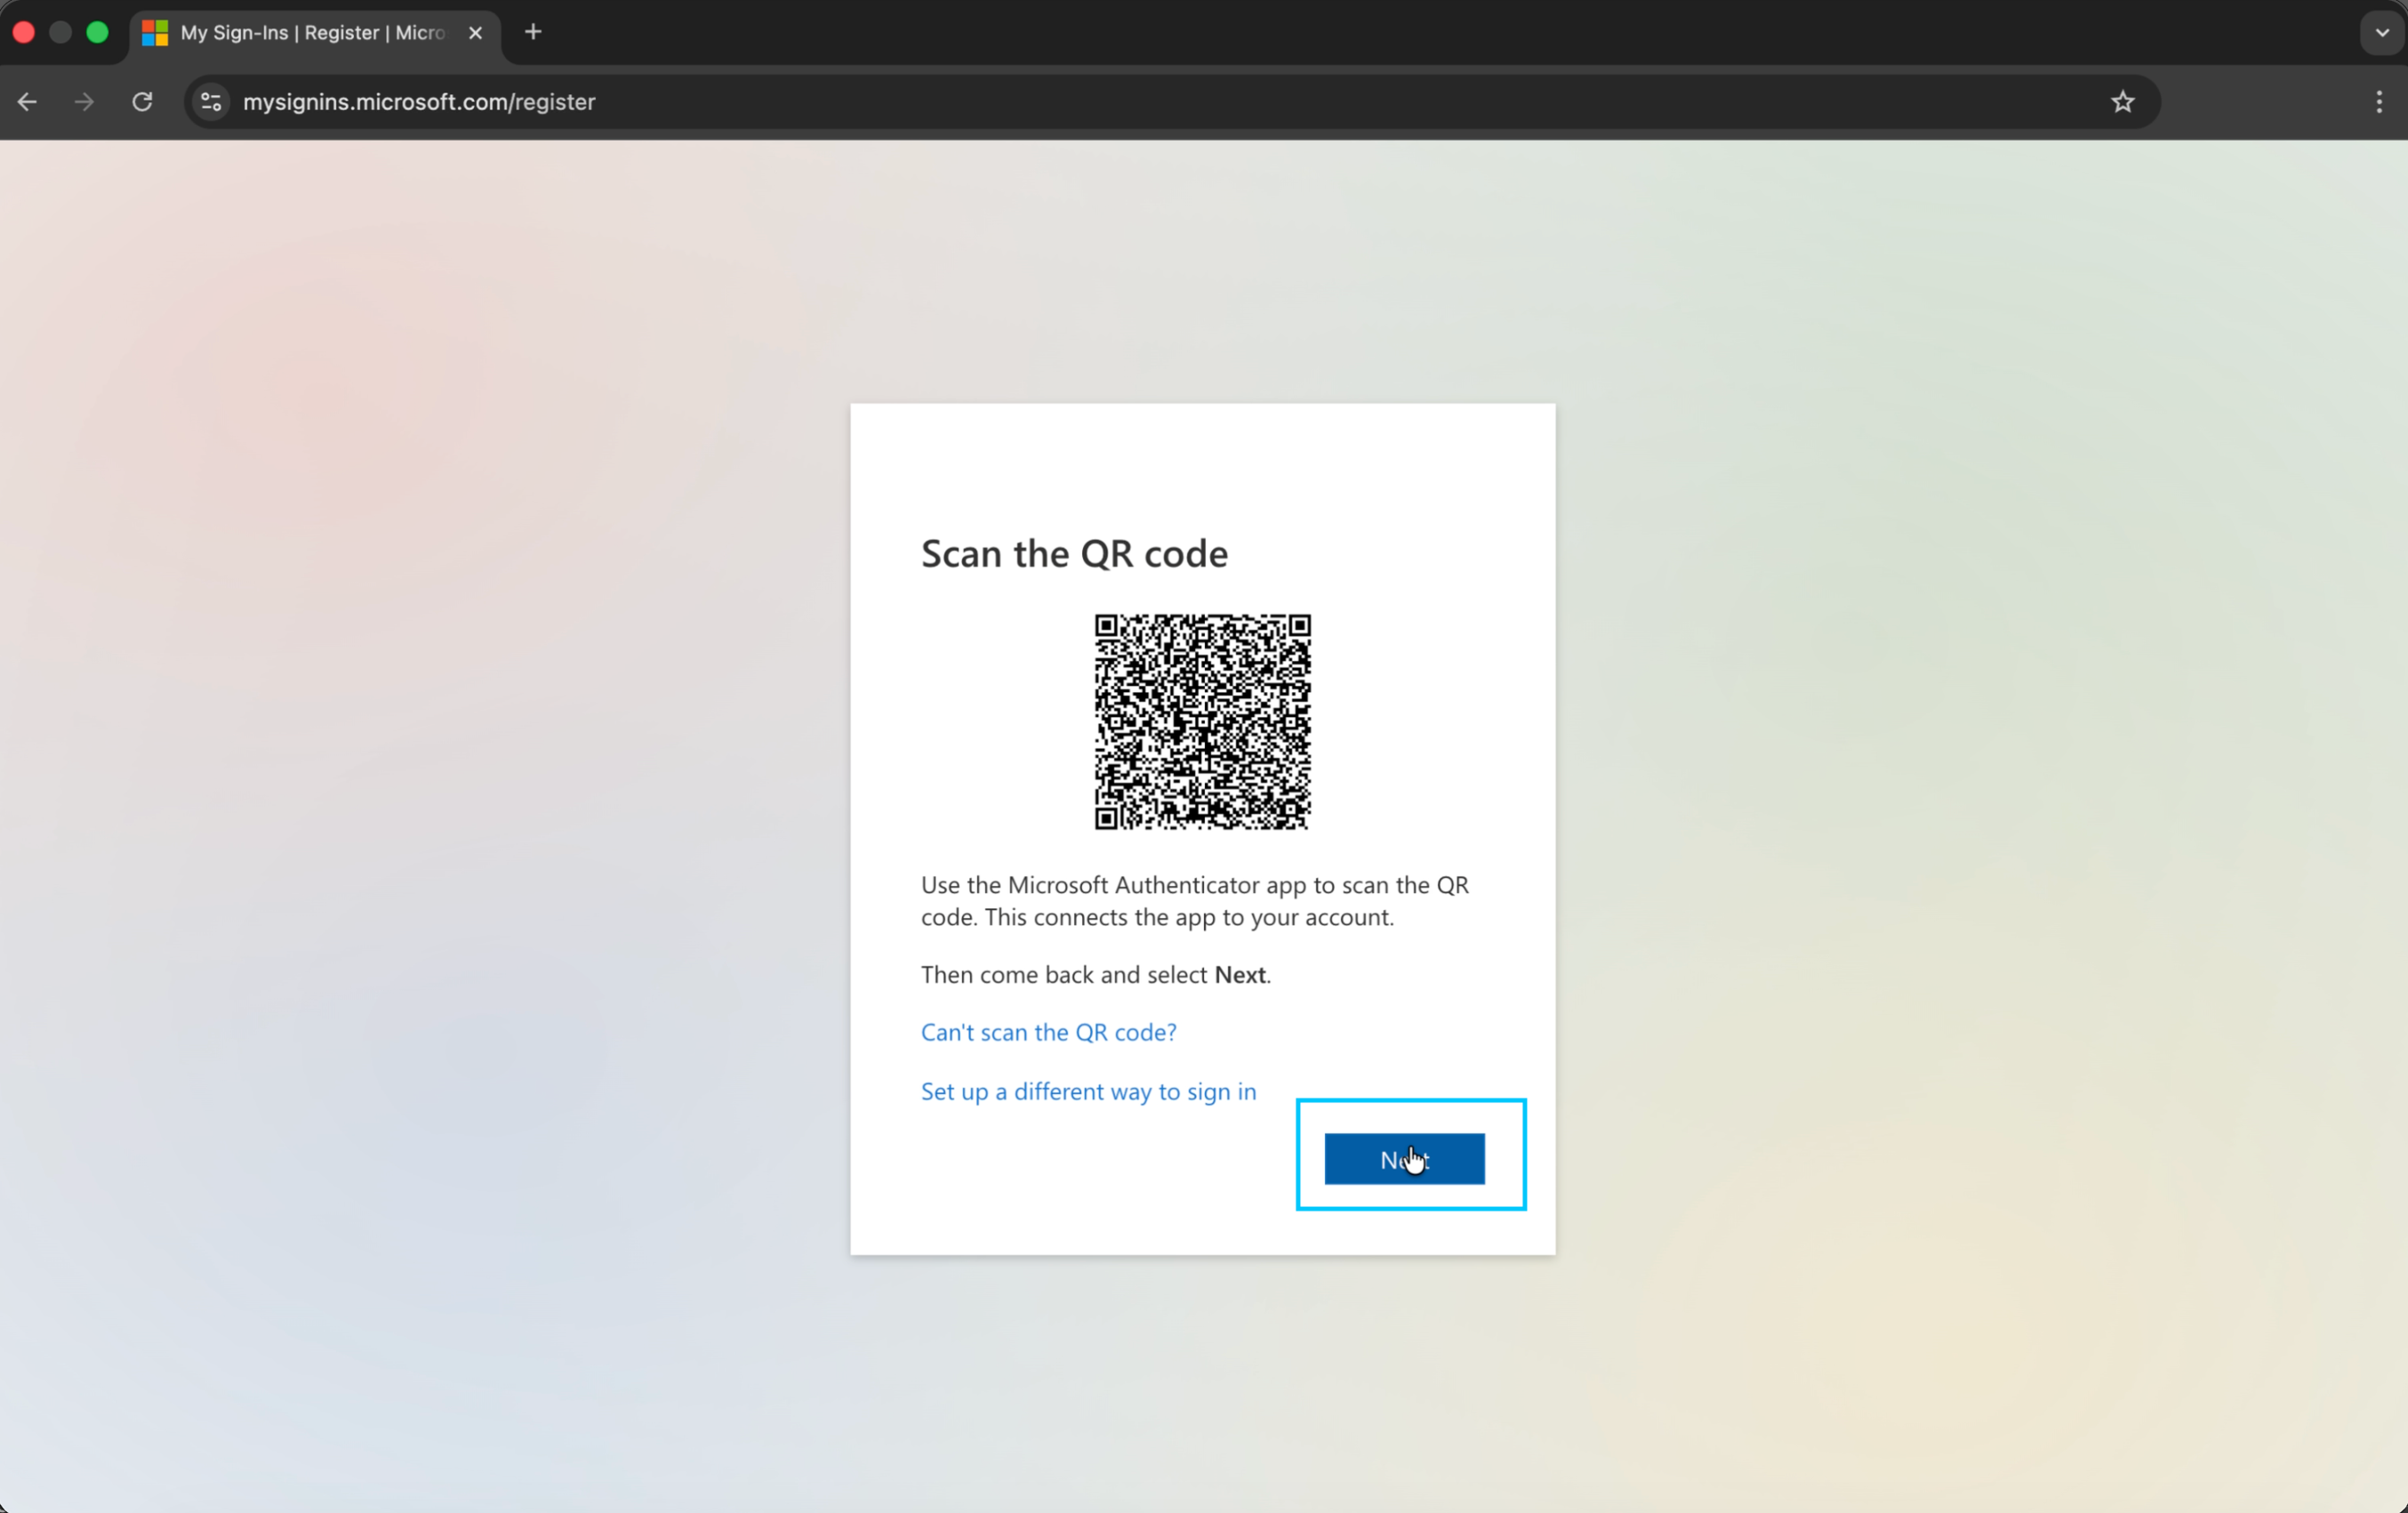
11. Scan the QR Code
Action required in app — The browser will display a QR code. In Microsoft Authenticator, tap Scan a QR code and point your camera at the code on screen. Once scanned successfully, click Next in the browser.
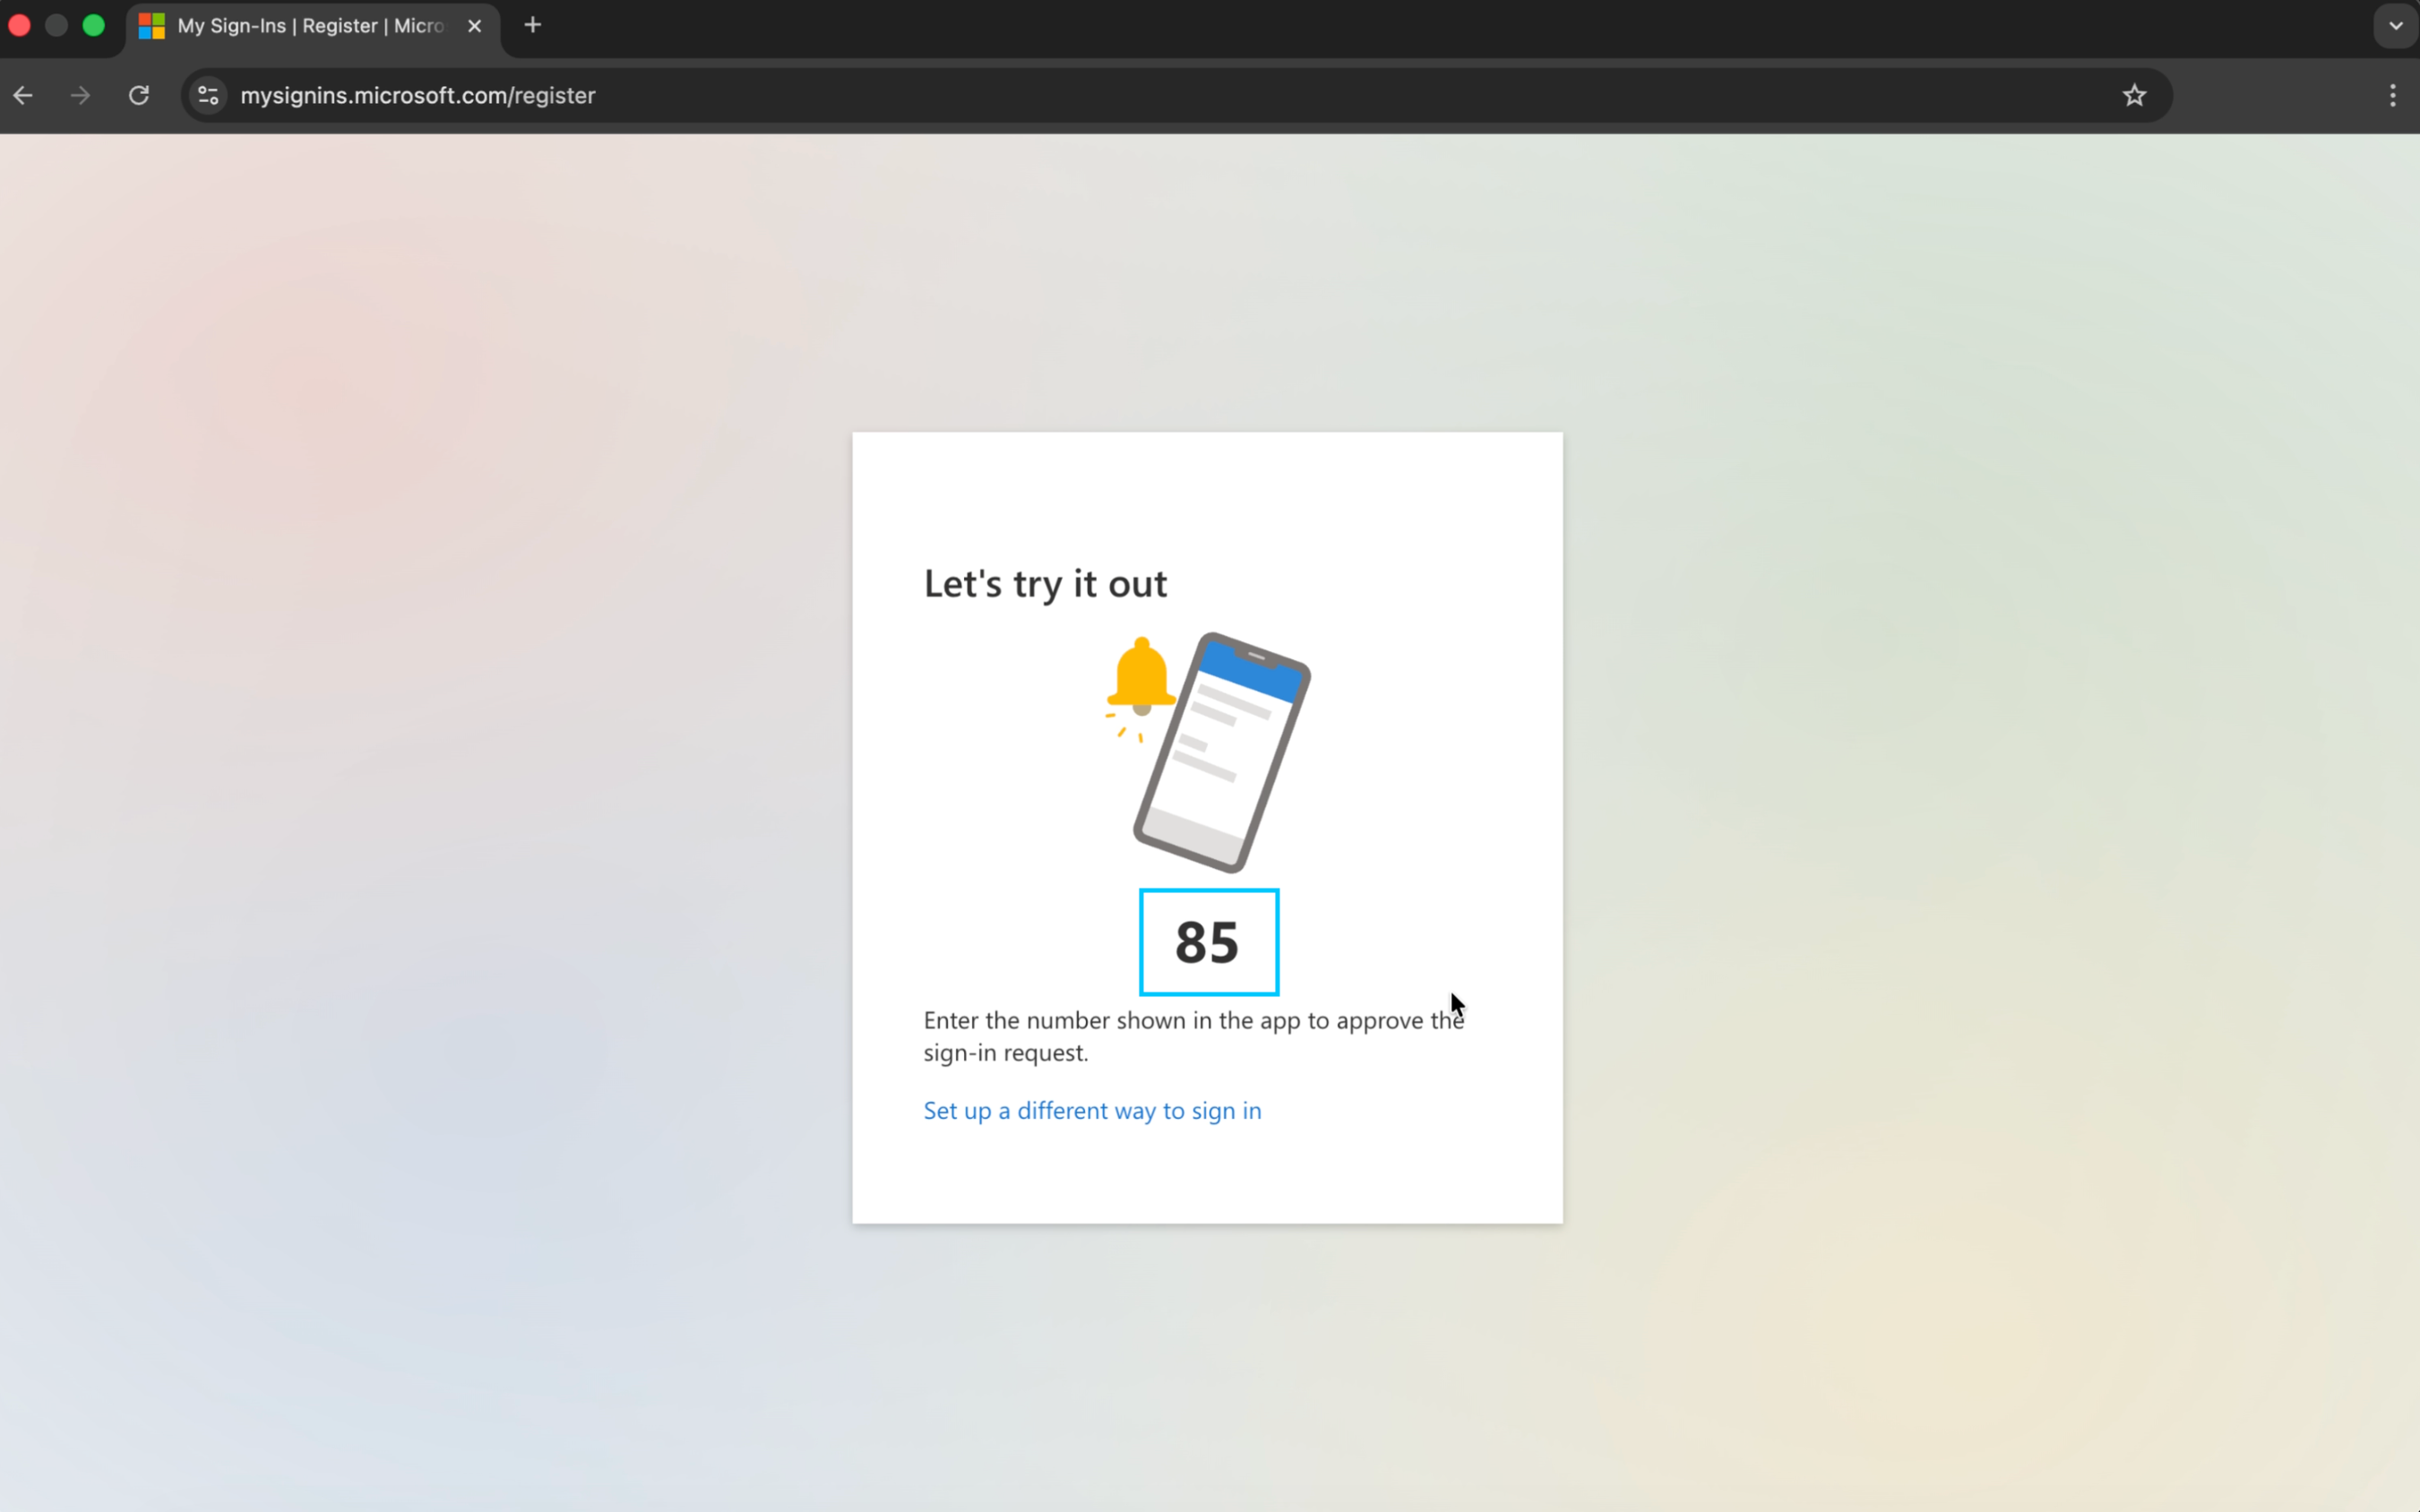
12. Approve the Test Notification
Action required in app — The browser displays a number (e.g. 85). Check Microsoft Authenticator on your phone — a push notification will have arrived. Open it, enter the matching number, and approve the sign-in request.
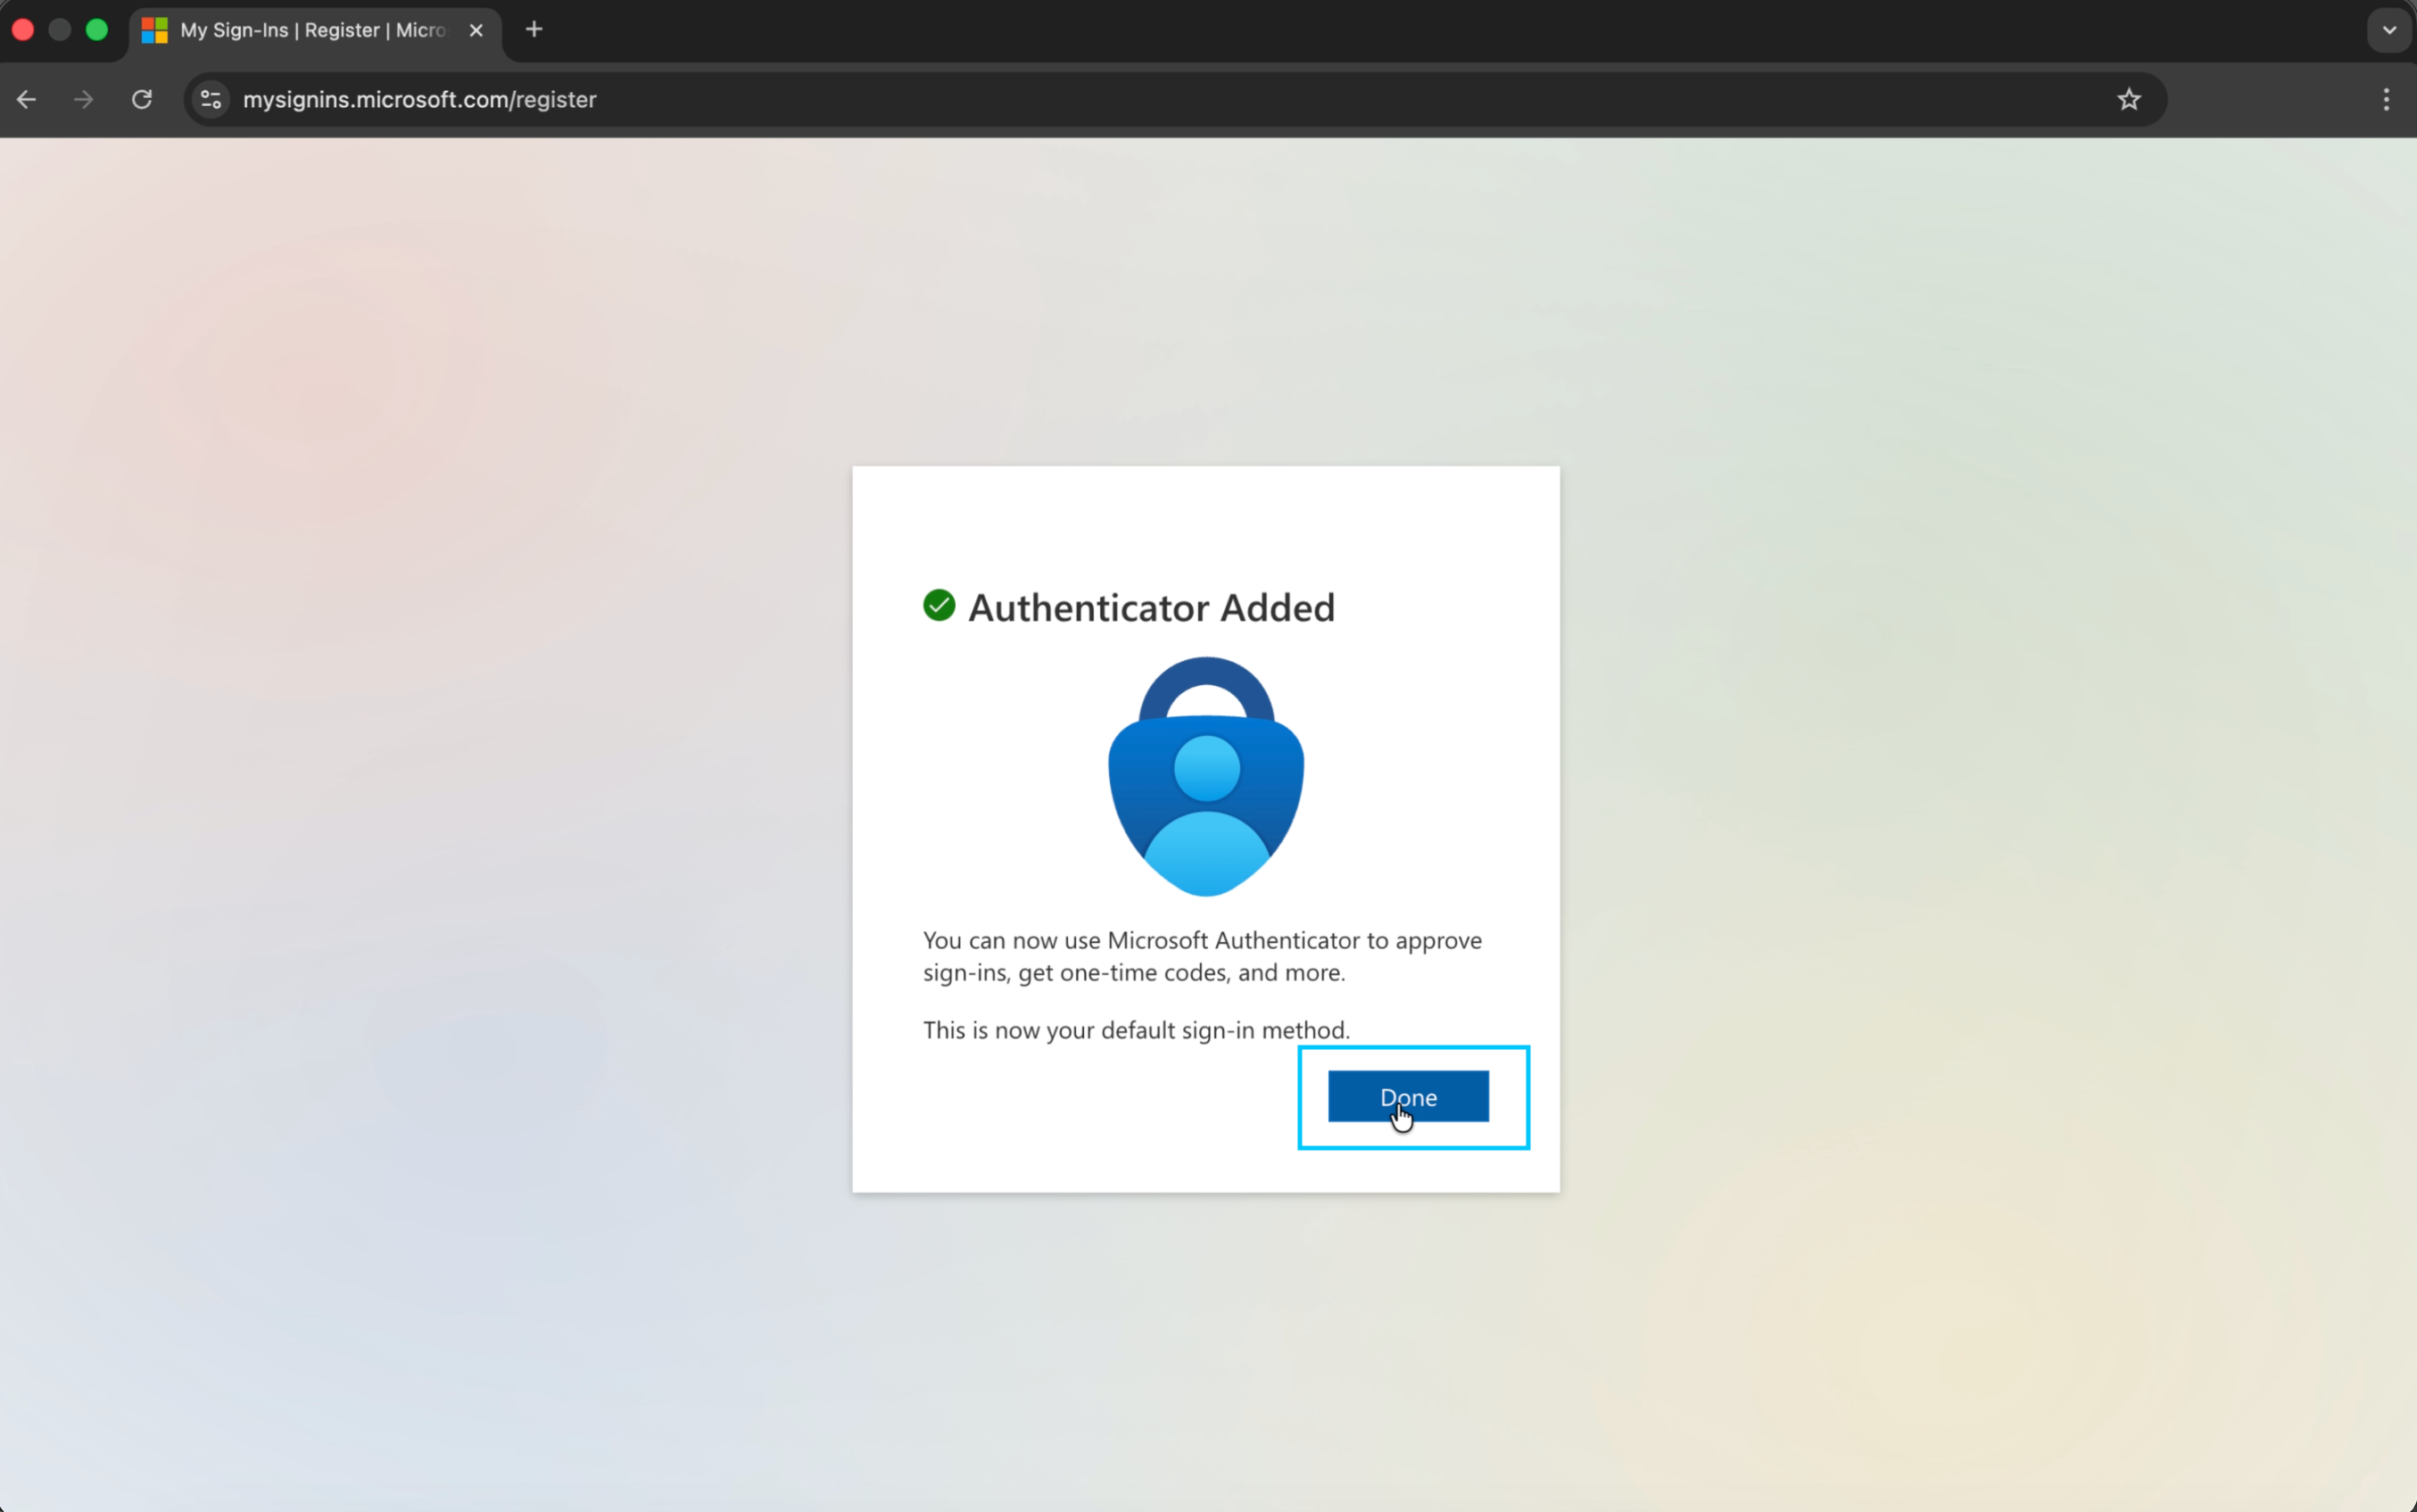
13. Authenticator Added
The browser confirms Authenticator Added. Microsoft Authenticator is now your default sign-in method. Click Done.

14. Voltquant Loads
You are redirected back to Voltquant, which shows a brief Authenticating... loading screen before taking you to your projects dashboard. Setup is complete.
Troubleshooting
| Situation | What to Do |
|---|---|
| No passkey / QR code prompt at Step 3 | Click Cancel on the passkey screen. You will be prompted for your password or PIN instead. |
| QR code won’t scan in Step 11 | Tap ‘Can’t scan the QR code?’ in the browser to get a manual setup code you can enter directly into the app. |
| Push notification doesn’t arrive in Step 12 | Check notification permissions for Microsoft Authenticator on your phone, or open the app manually to find the pending approval request. |
| Permissions screen says ‘not shared by Microsoft’ | This is expected for third-party apps. As long as the requestor shows VOLTQUANT / voltquant.onmicrosoft.com, it is legitimate. |
| Already have Microsoft Authenticator | Simply add a new Work or school account within the existing app. You do not need to reinstall it. |
| ’Can’t access your account?’ link | Use this on the sign-in screen if you have forgotten your Microsoft account credentials — it will guide you through account recovery. |
Regular Sign-In
1. Find Us
Using your browser of choice, navigate to our Web App at:
https://app.voltquant.com/login

2. Select ‘Login With Microsoft'
Select the Login button as displayed below:

3. Enter Microsoft Credentials
You will be redirected to the Microsoft login screen in a new tab where you can enter your details. On success, you will be redirected back to Voltquant app.
4. Enjoy the app!
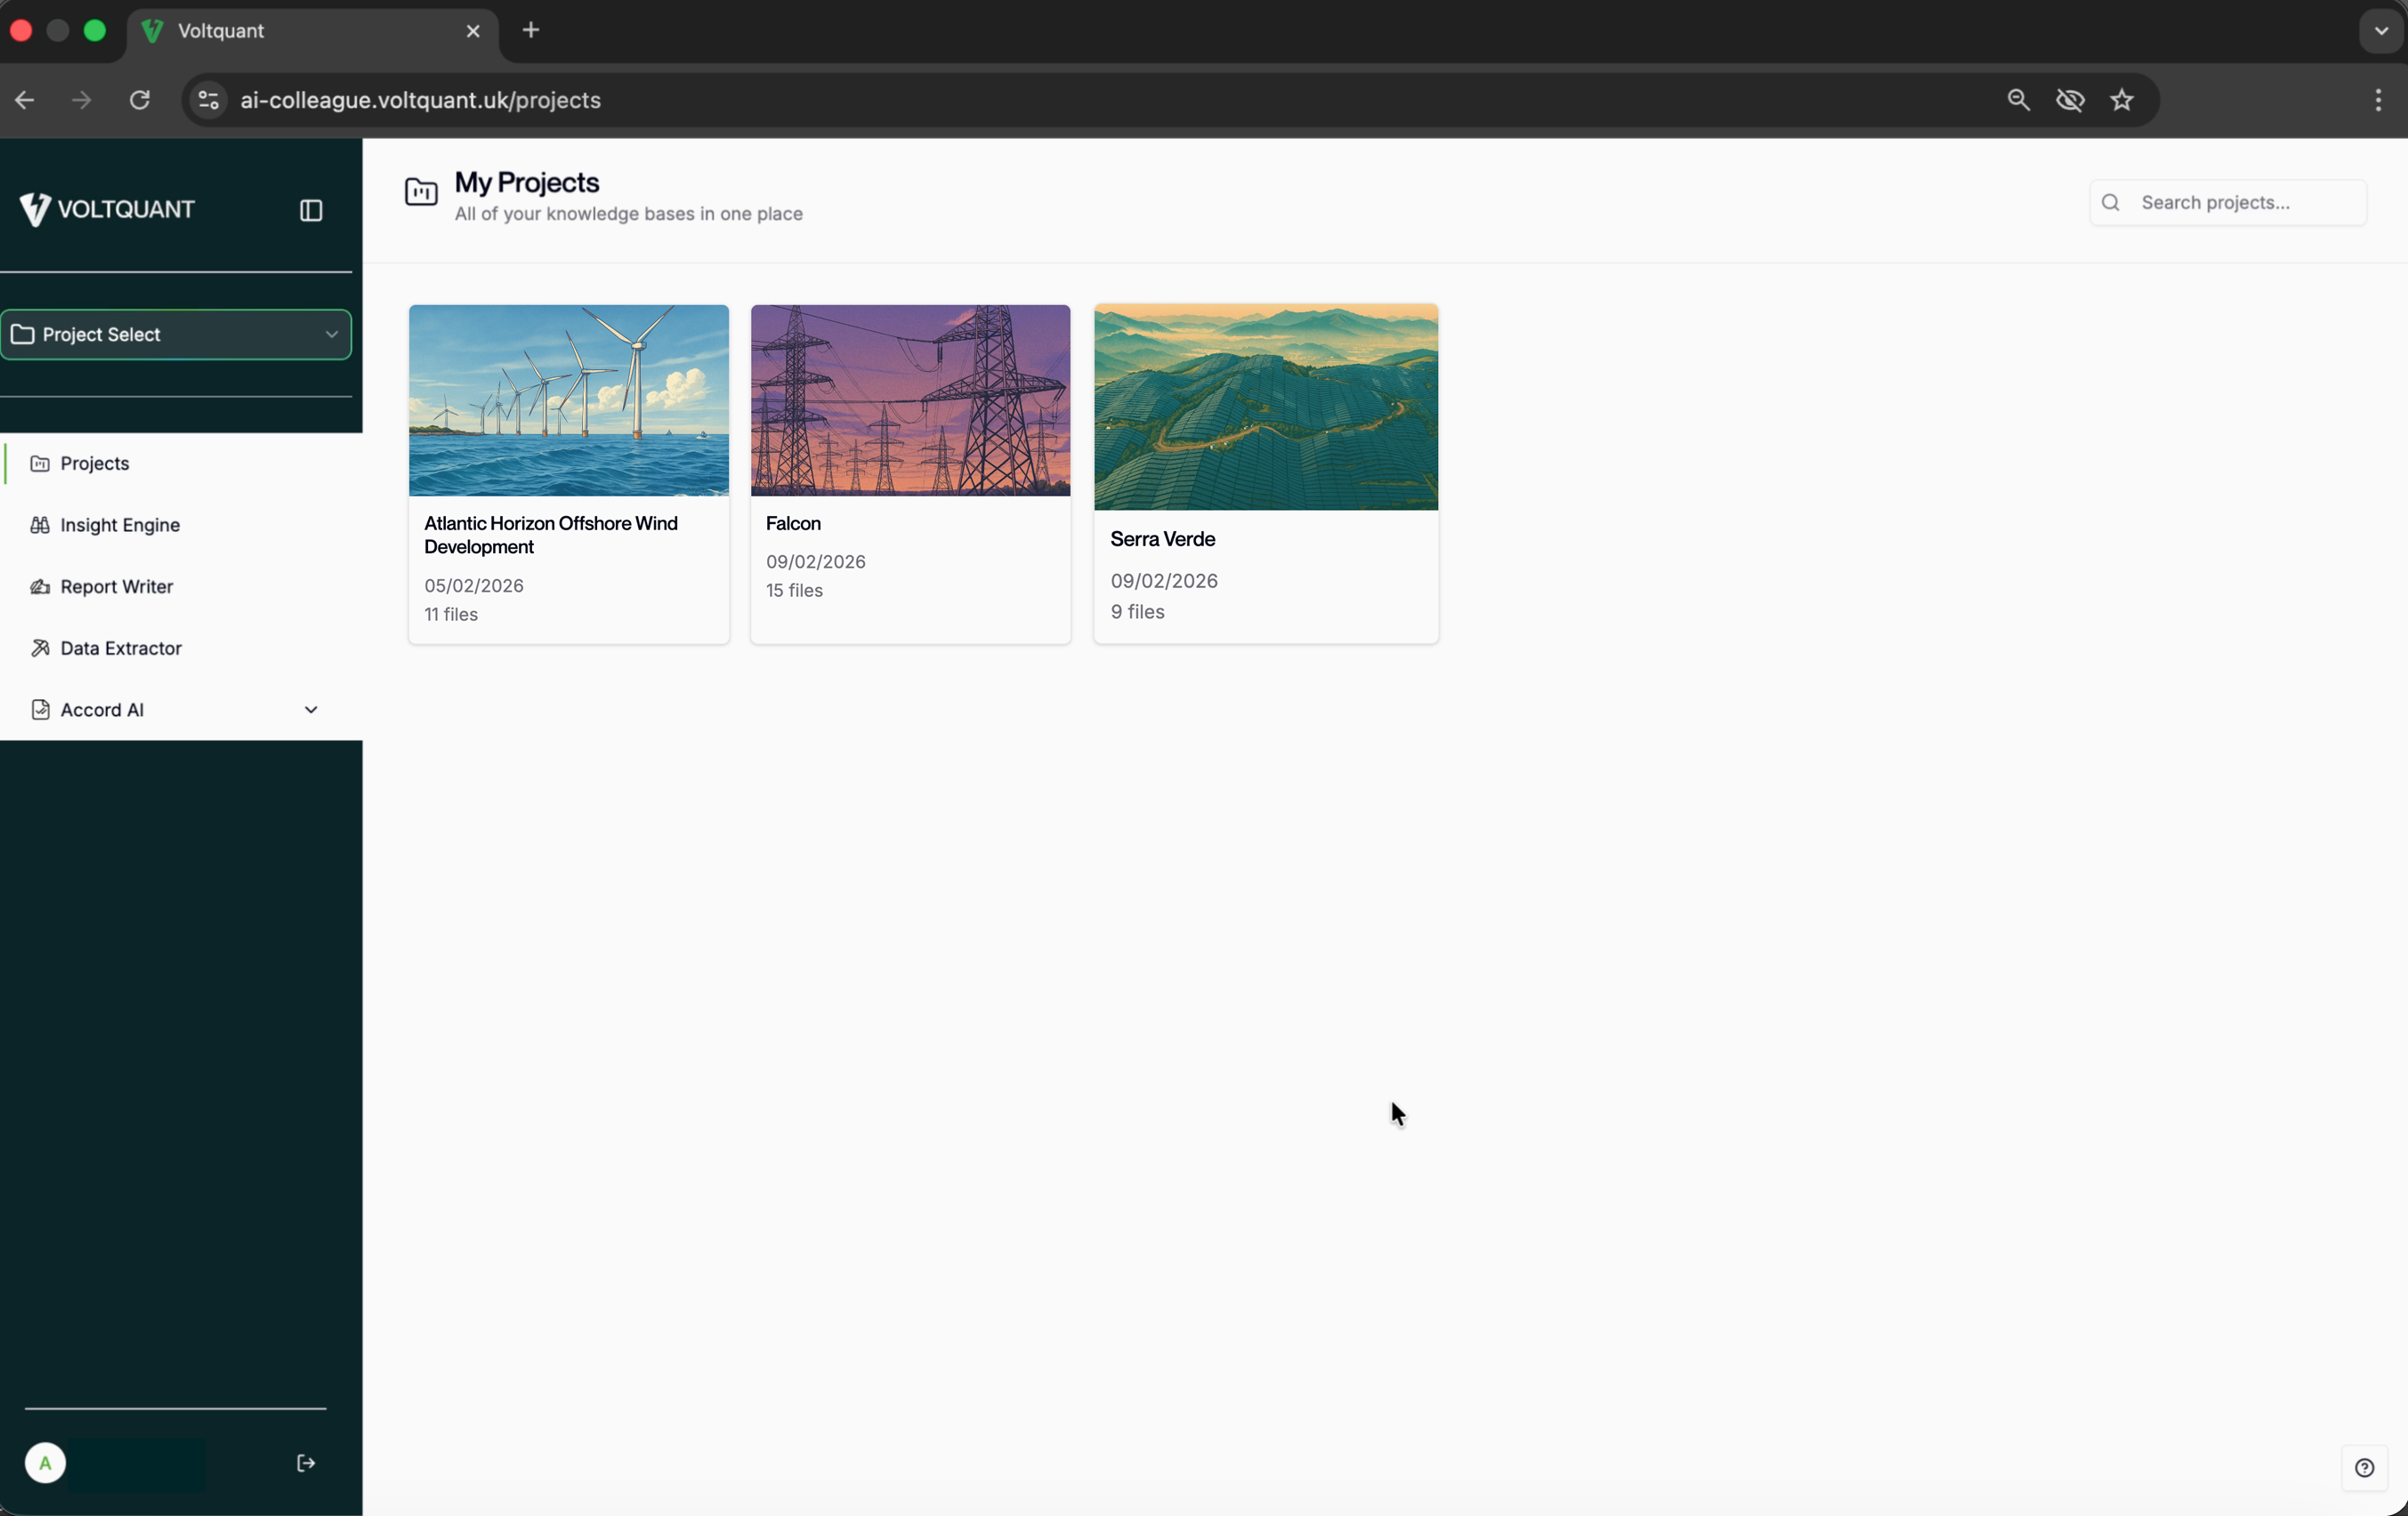
On success, you will be able to view your Organisation’s 'Project Page':
https://app.voltquant.com/login
Sign-Out
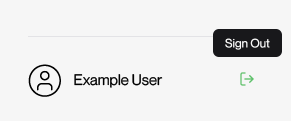
1. Select Sign-Out Icon
Navigate to the bottom of the sidebar to find the sign-out icon, as seen below:

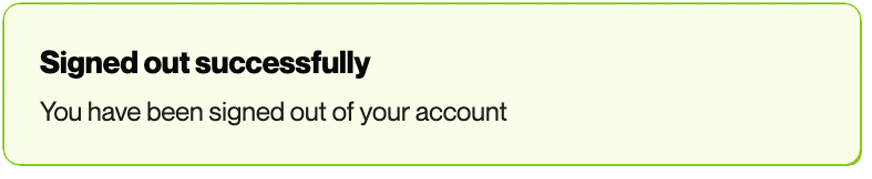
2. Confirm Success
When successfully logged out, you will see a confirmation toast confirmation toast in bottom right-hand corner.